Raspberry Coconut Panna Cotta
It’s summer. It’s hot. The last thing you want to do is start the oven up. The first thing you want is something cool, smooth, slightly sweet, and refreshing. I’ve found just the thing over on www.healingfamilyeats.com/raspberry-coconut-panna-cotta/. As soon as I saw that delightfully pink, creamy-looking dessert, I just had to try it.
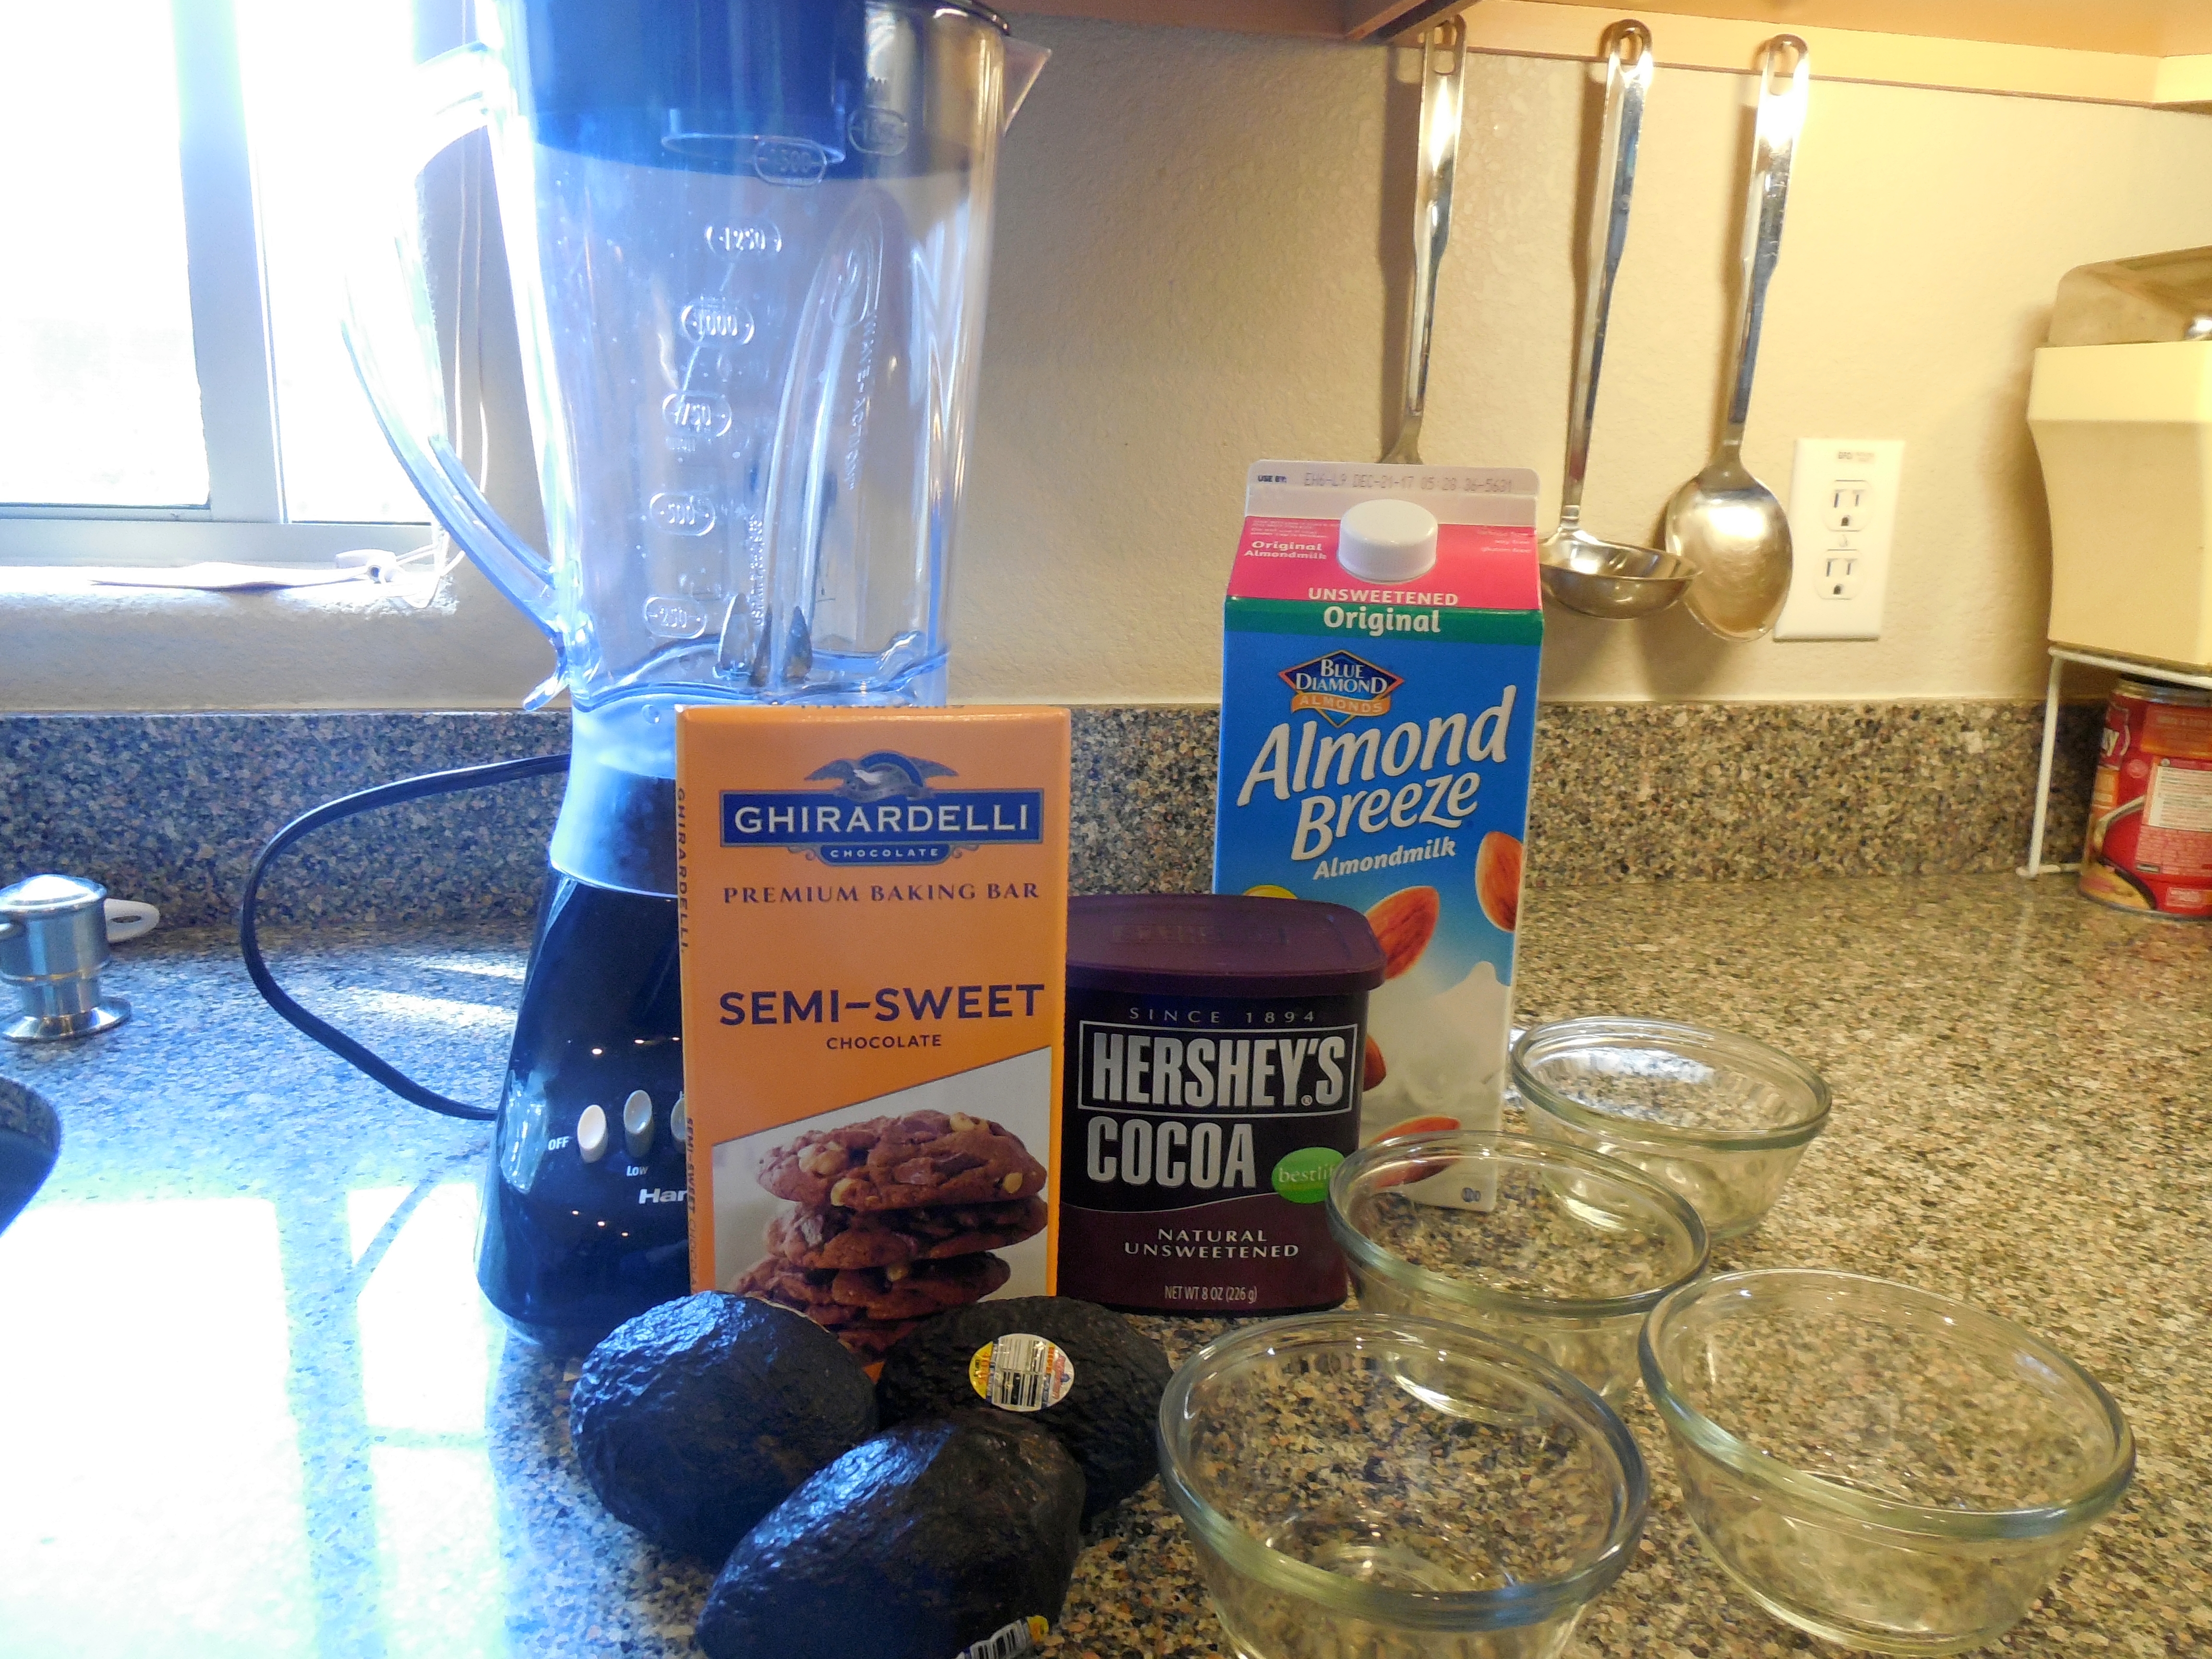
Unfortunately, I didn’t have any raspberries. I did have frozen blueberries though, so that’s what I used. This recipe is easy, and has just five ingredients, probably already in your fridge, freezer or pantry. And it makes 8 servings! Yay!
This being a paleo recipe, we’re not using the usual panna cotta ingredients or methods but that’s just fine with me. Give it a try. Click here for the full post.
Raspberry Coconut Panna Cotta

Hardware
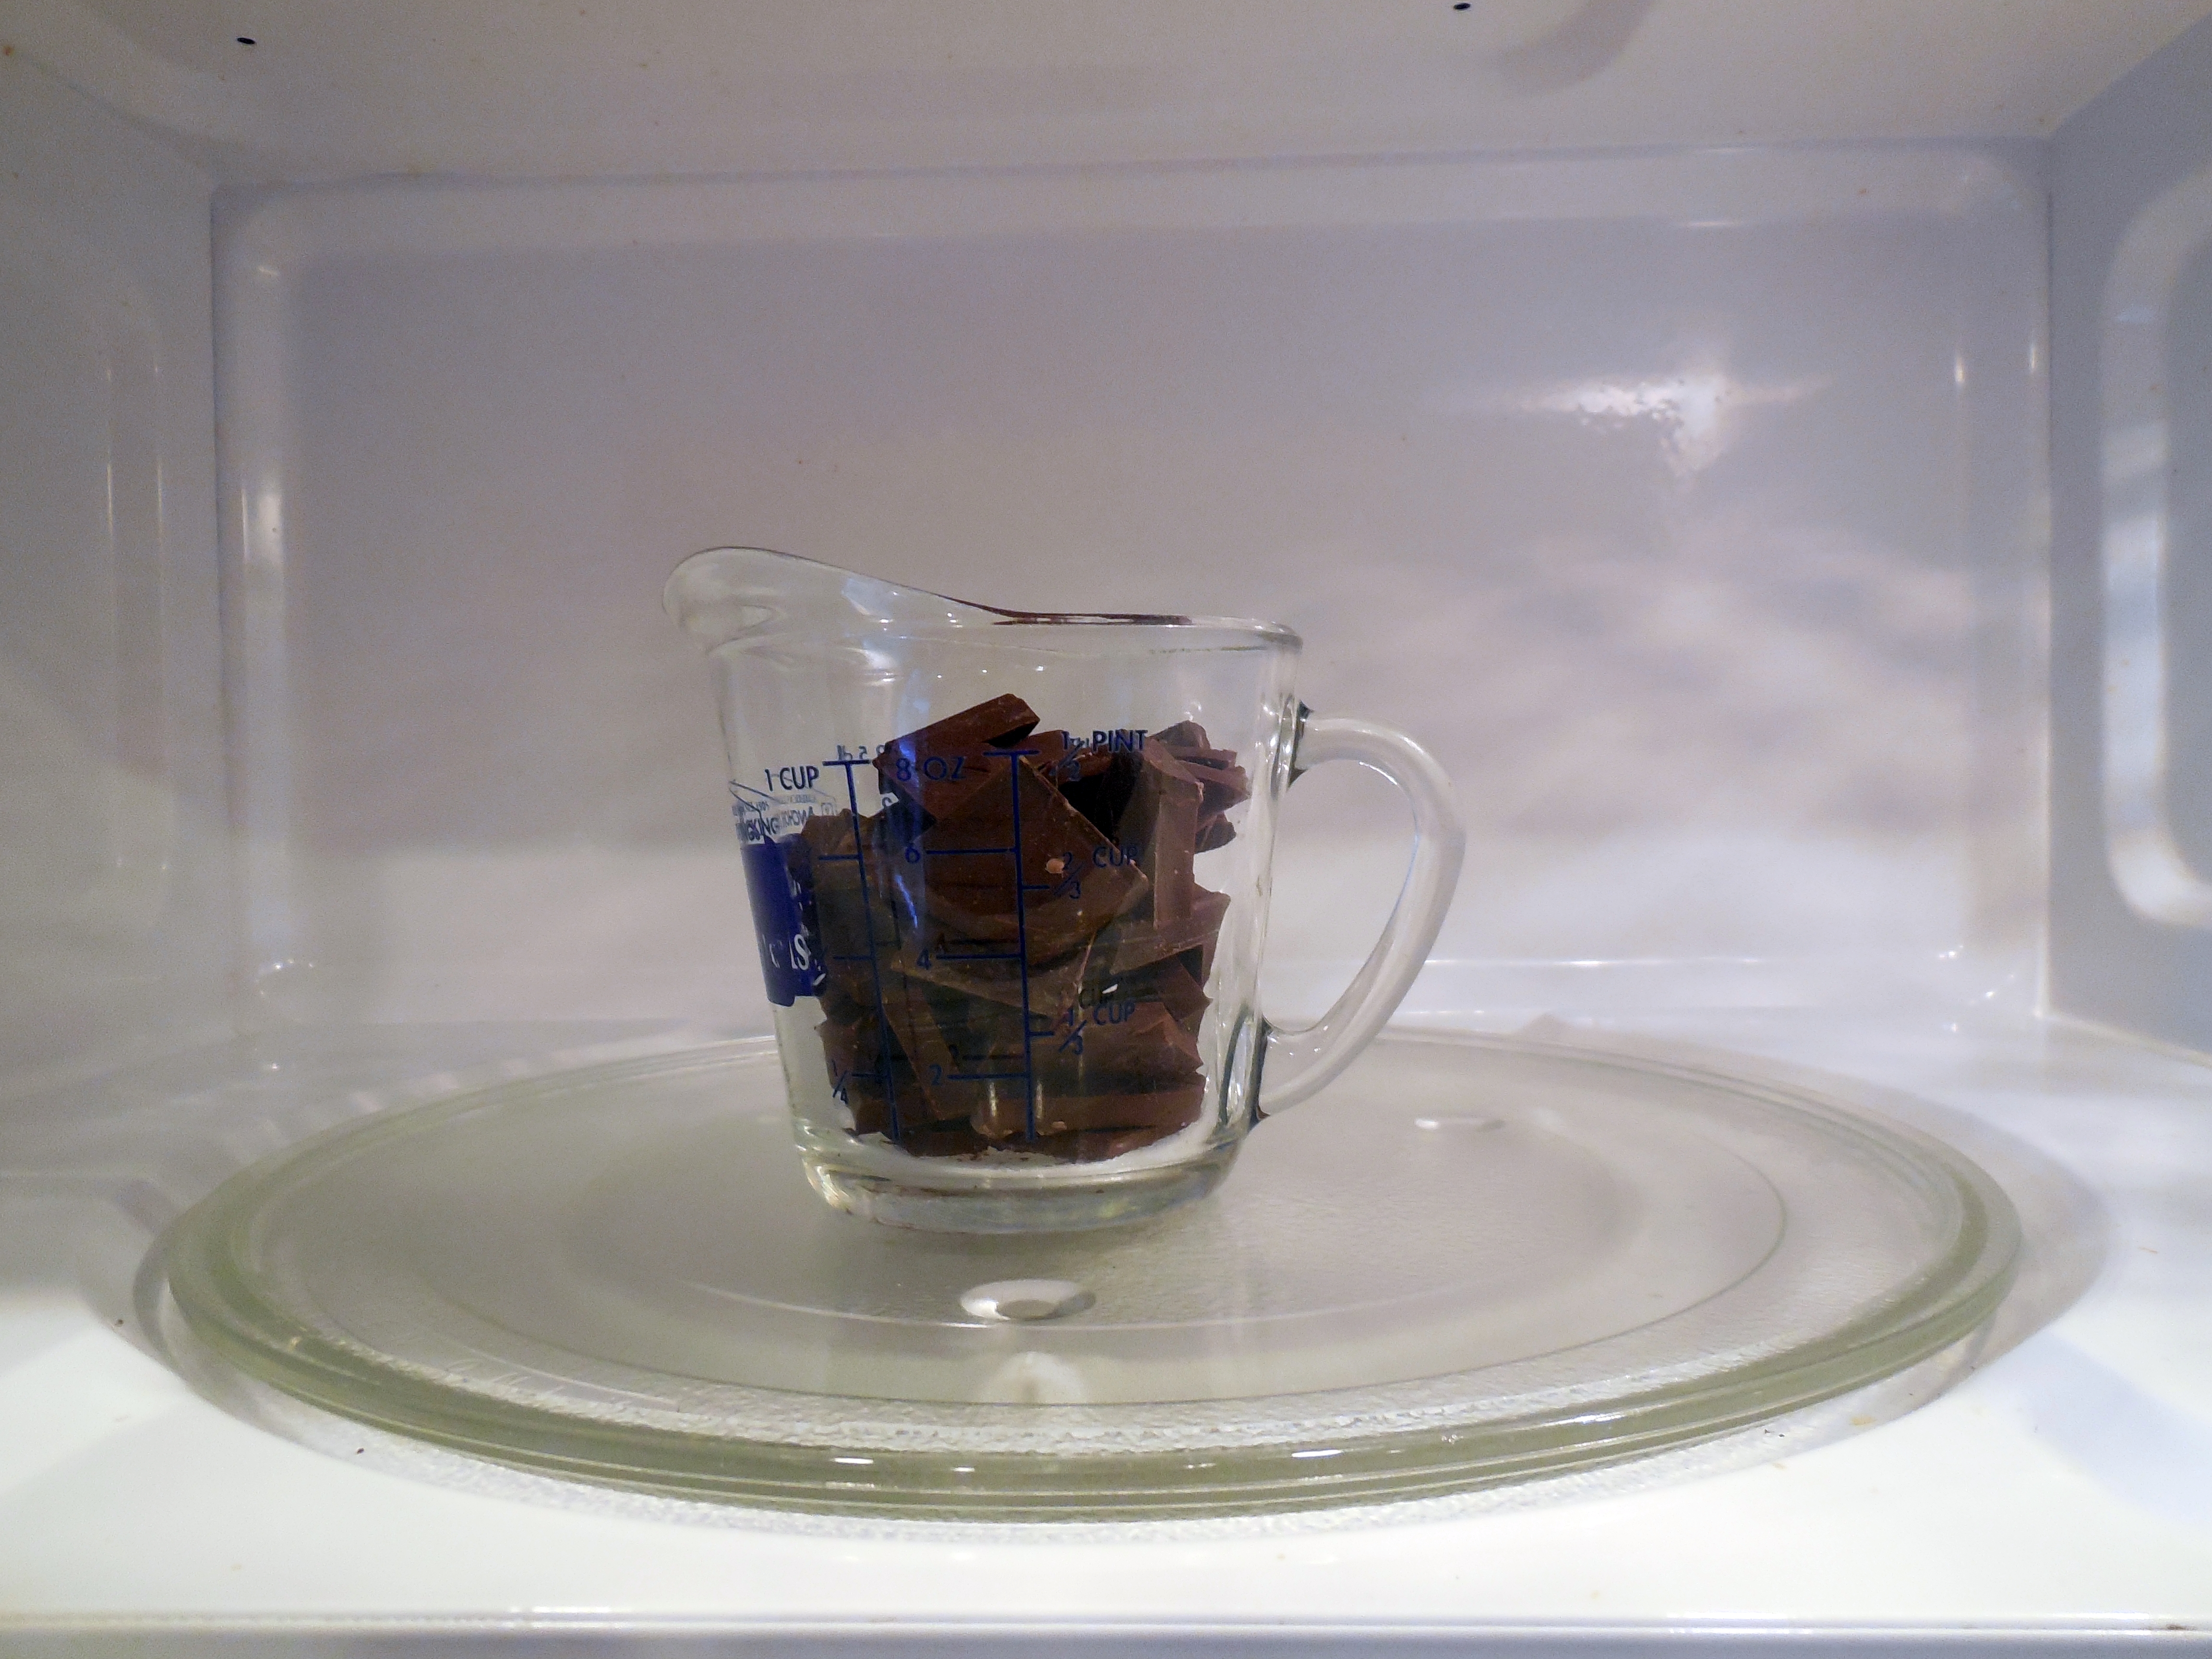
Small saucepan
Blender
Measuring cup
Measuring spoons
Ingredients
1 T unflavored gelatin 1 tsp vanilla
3 C coconut milk 1/4 C honey
1 C packed raspberries 1/2 C filtered water
Directions:

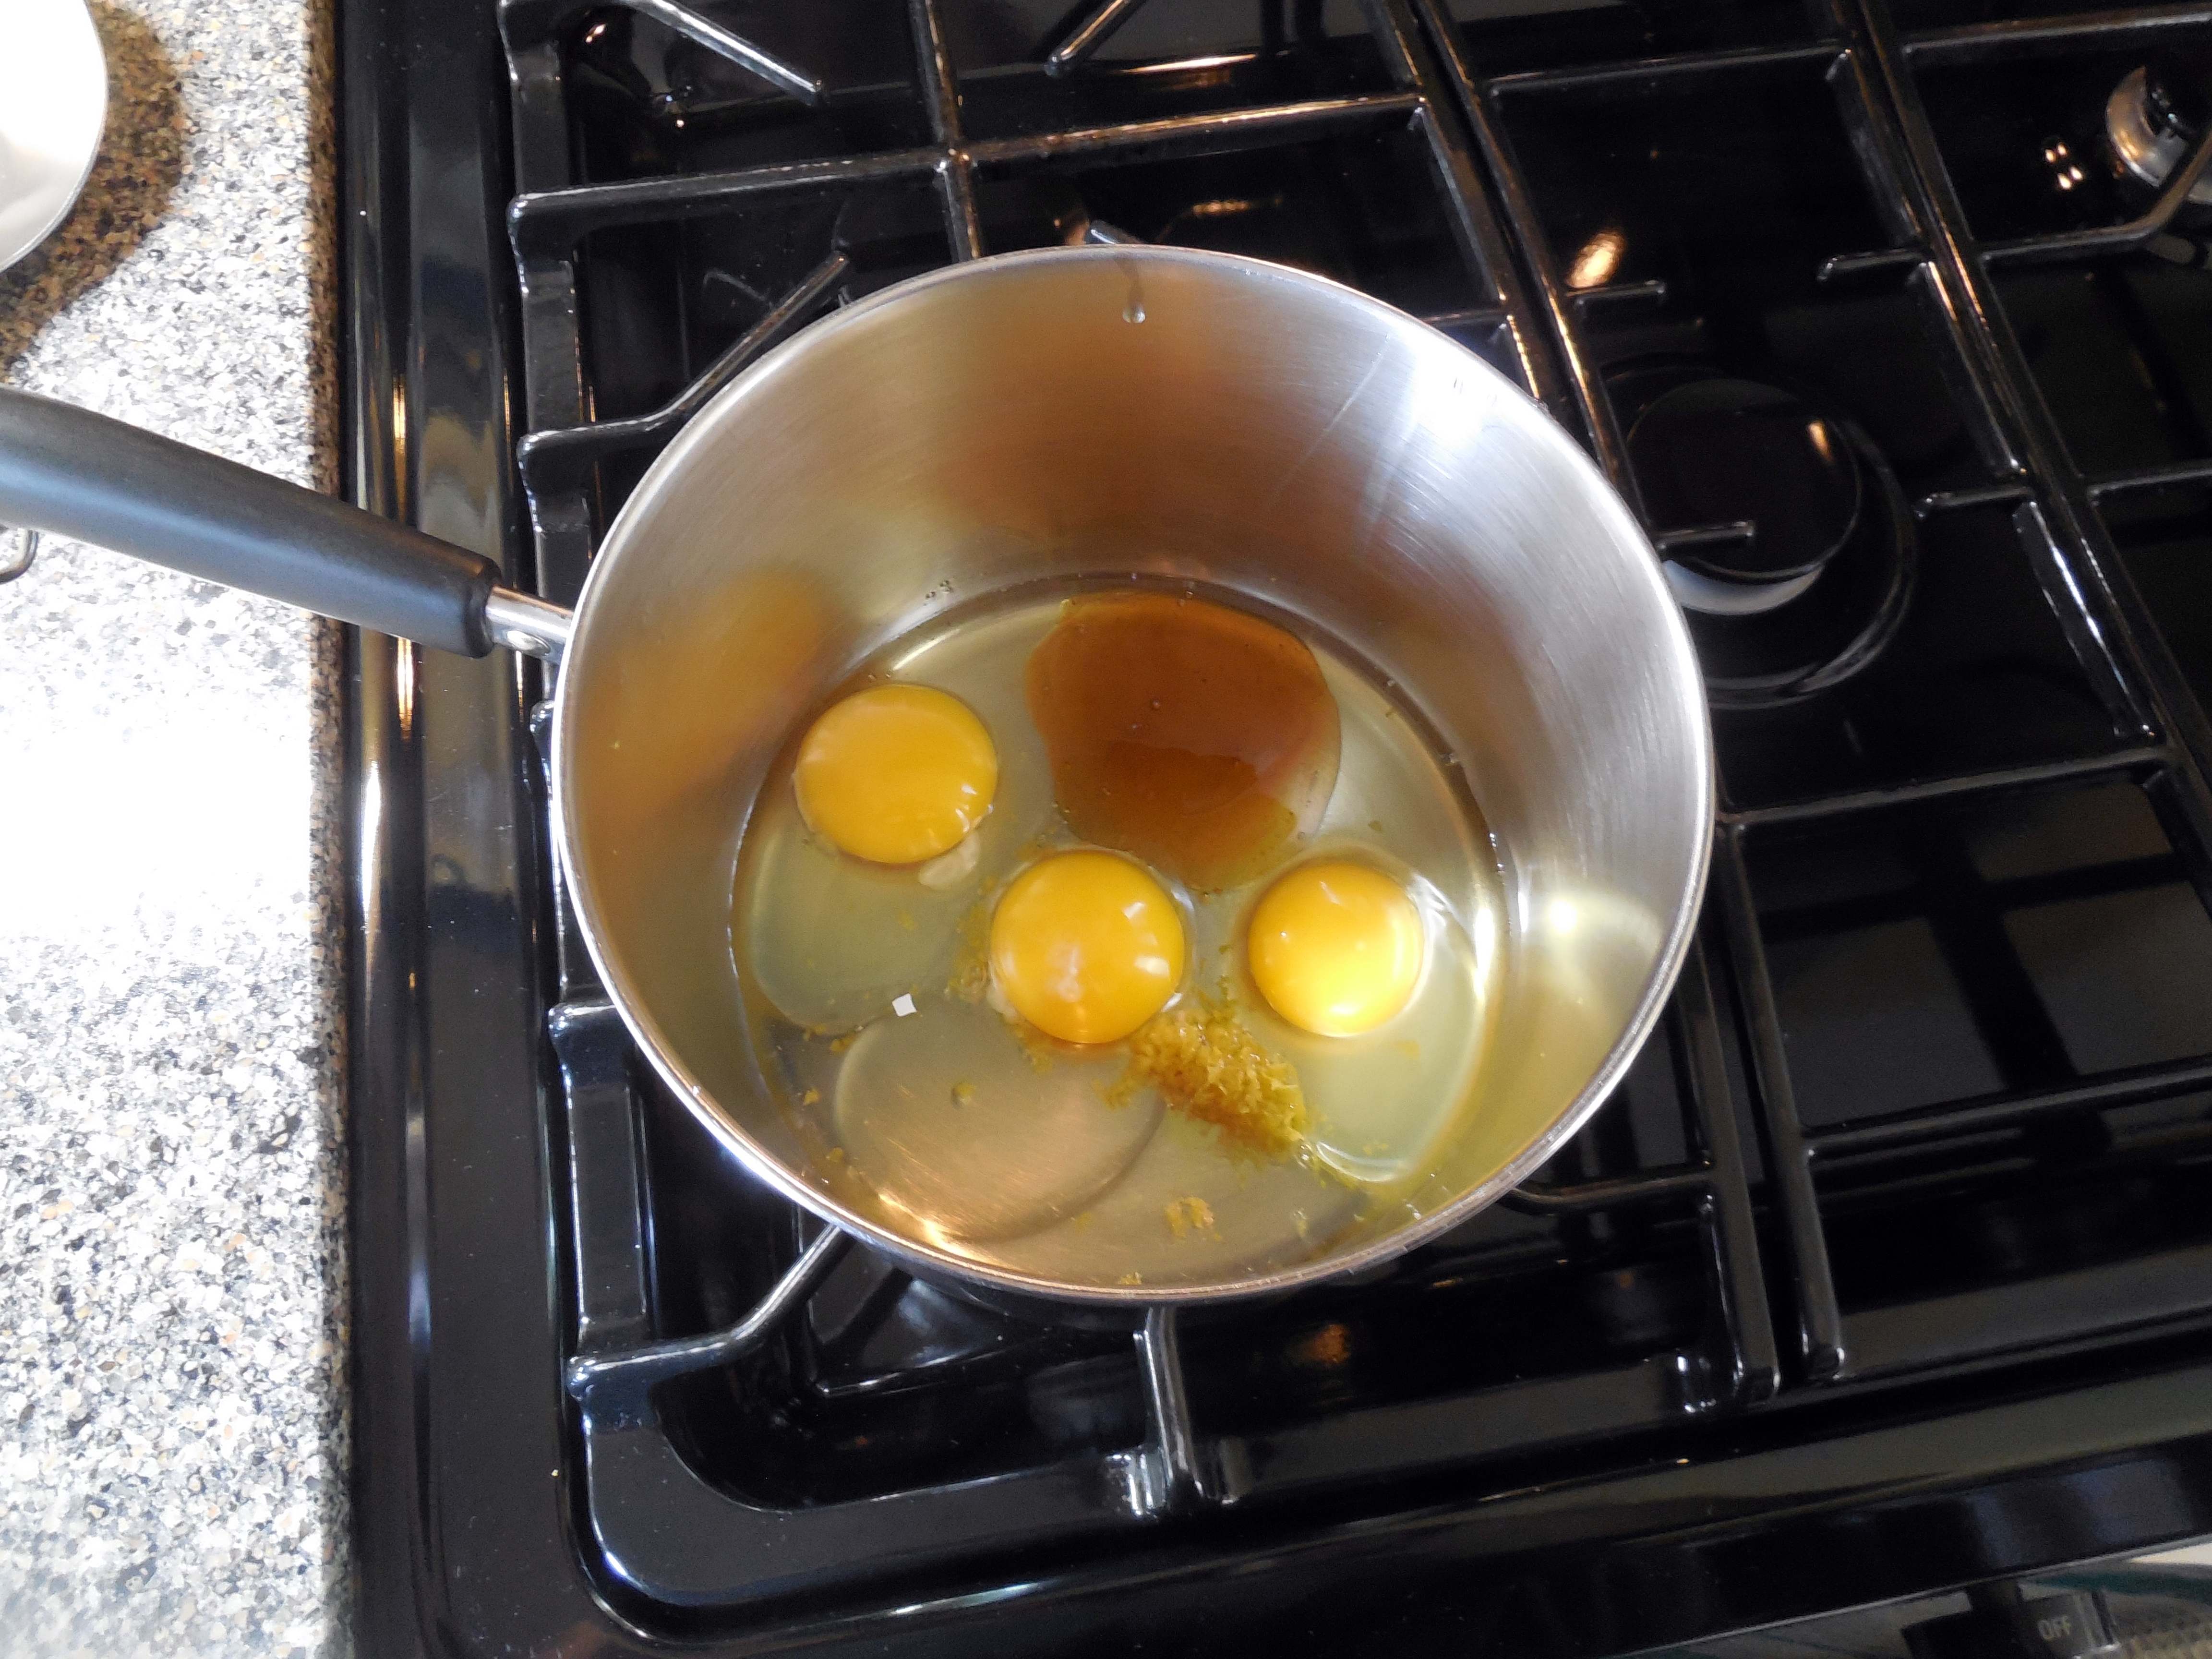
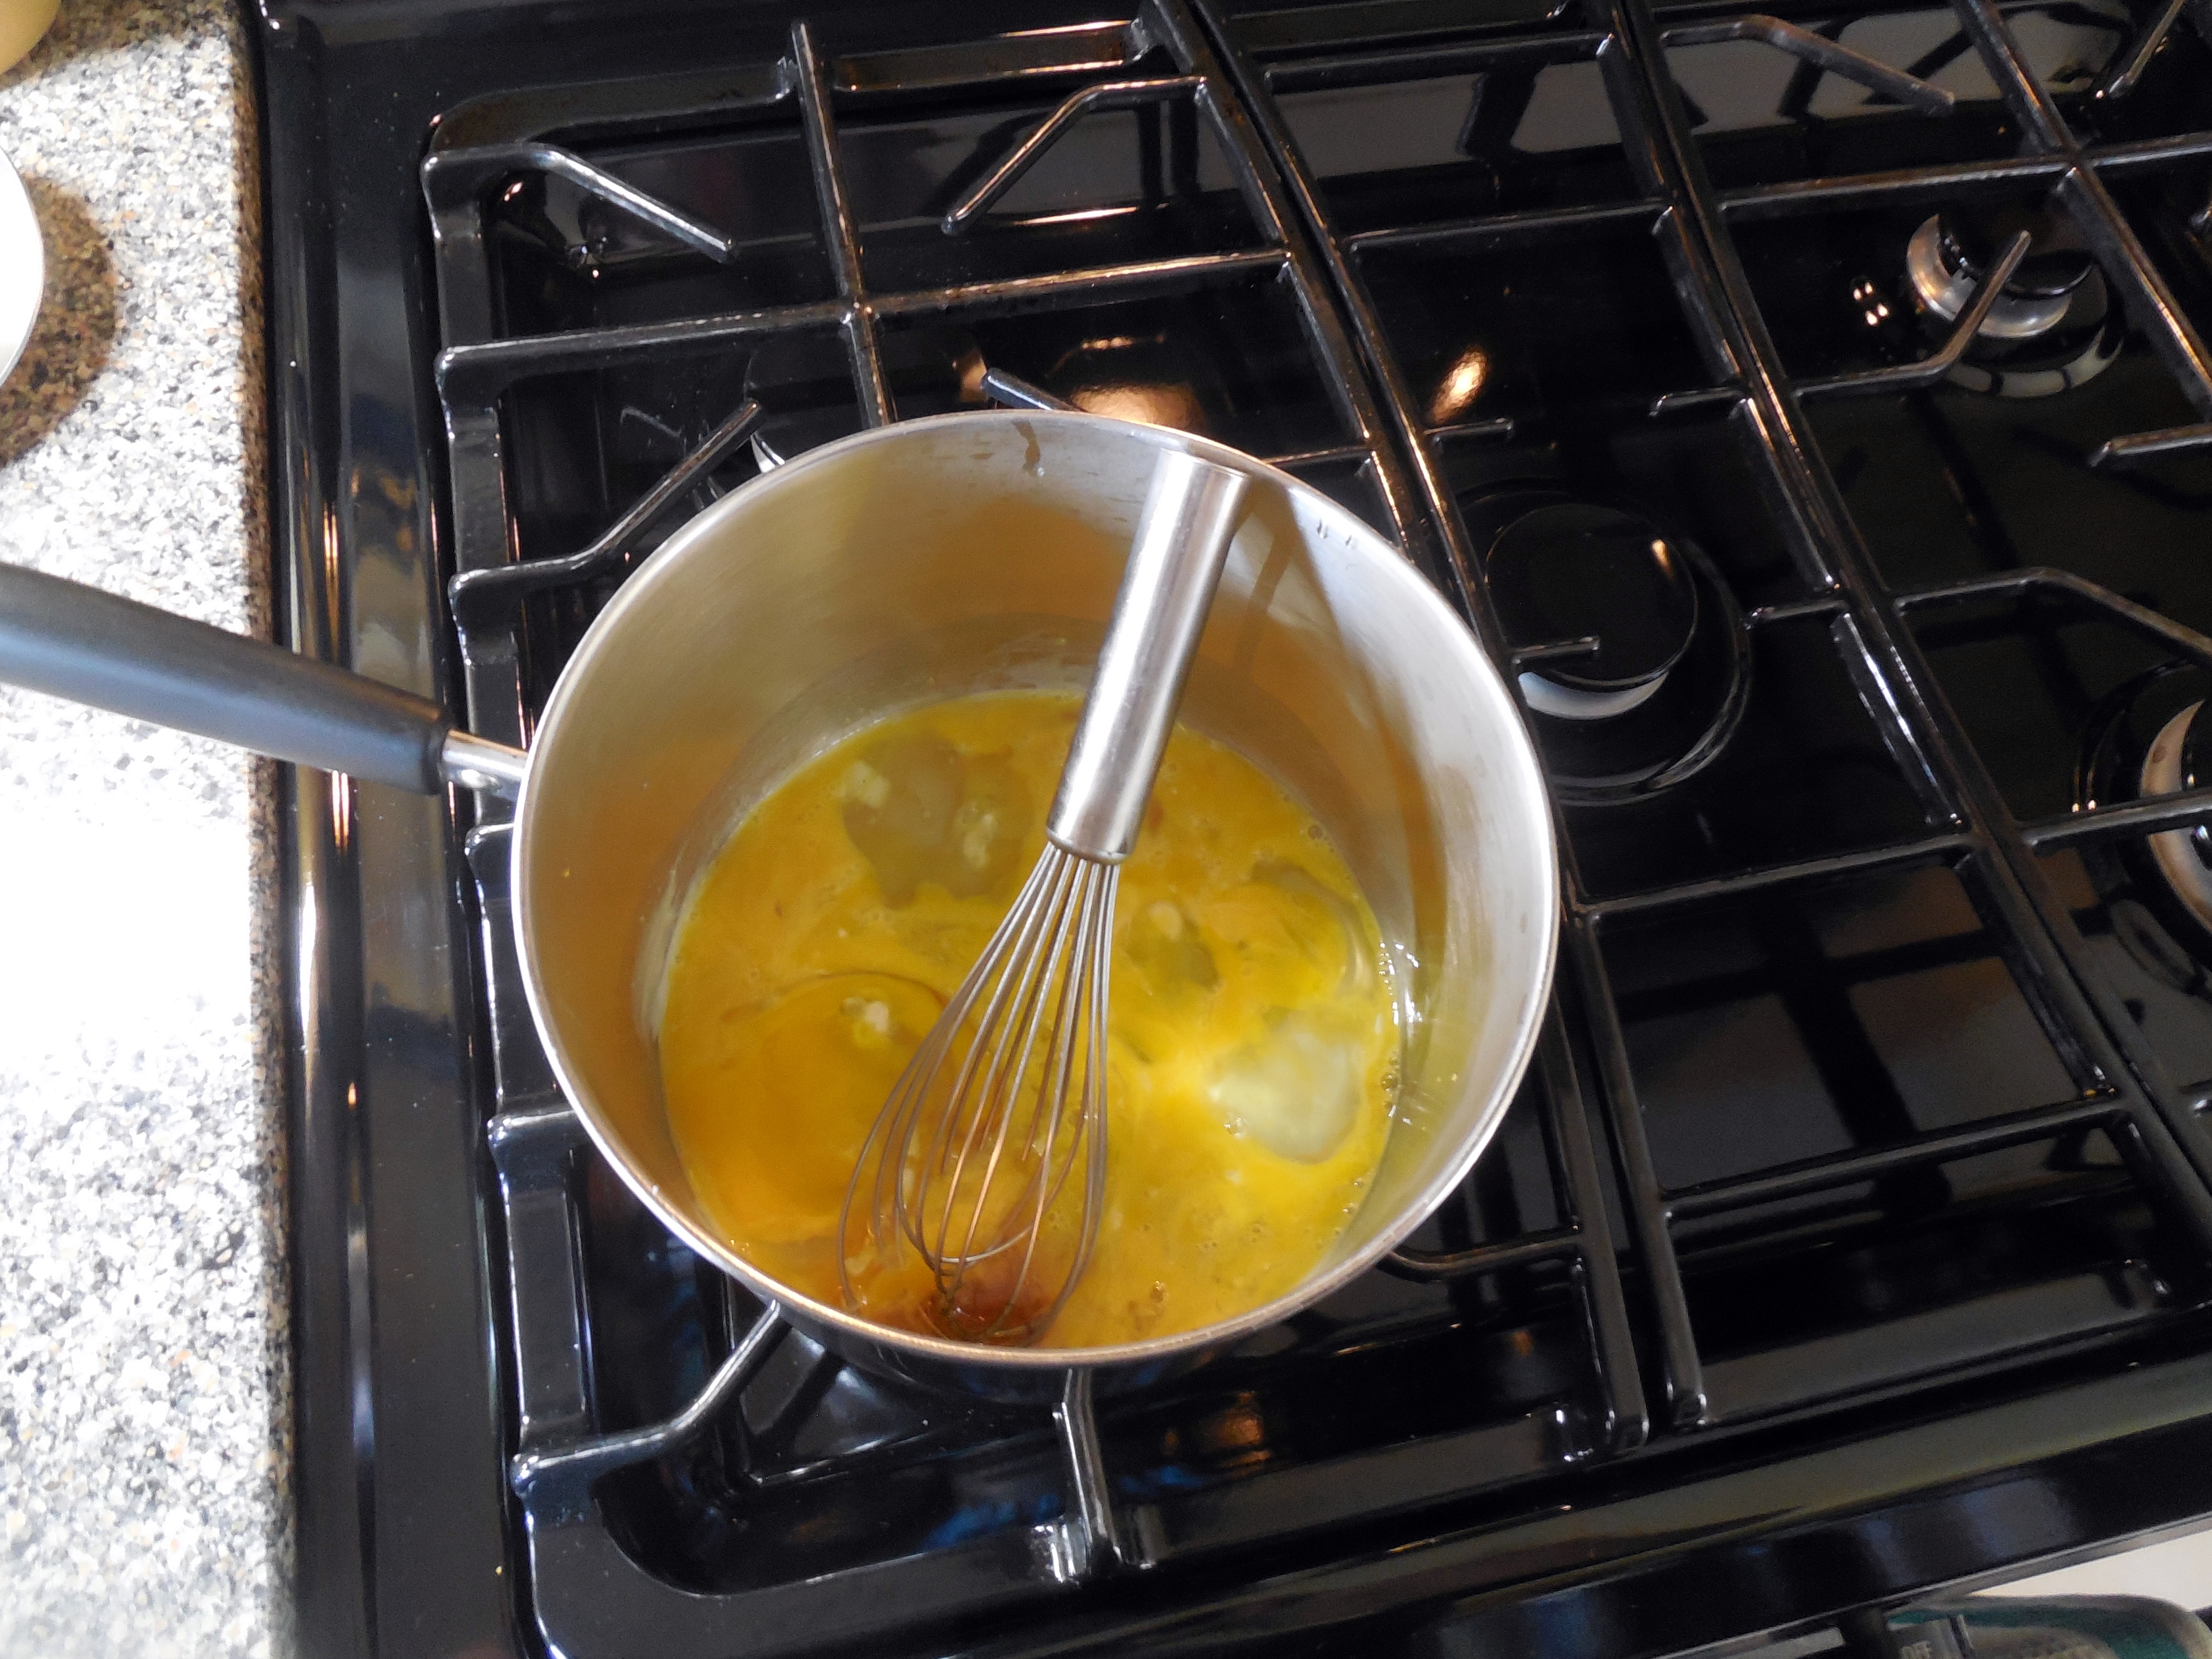
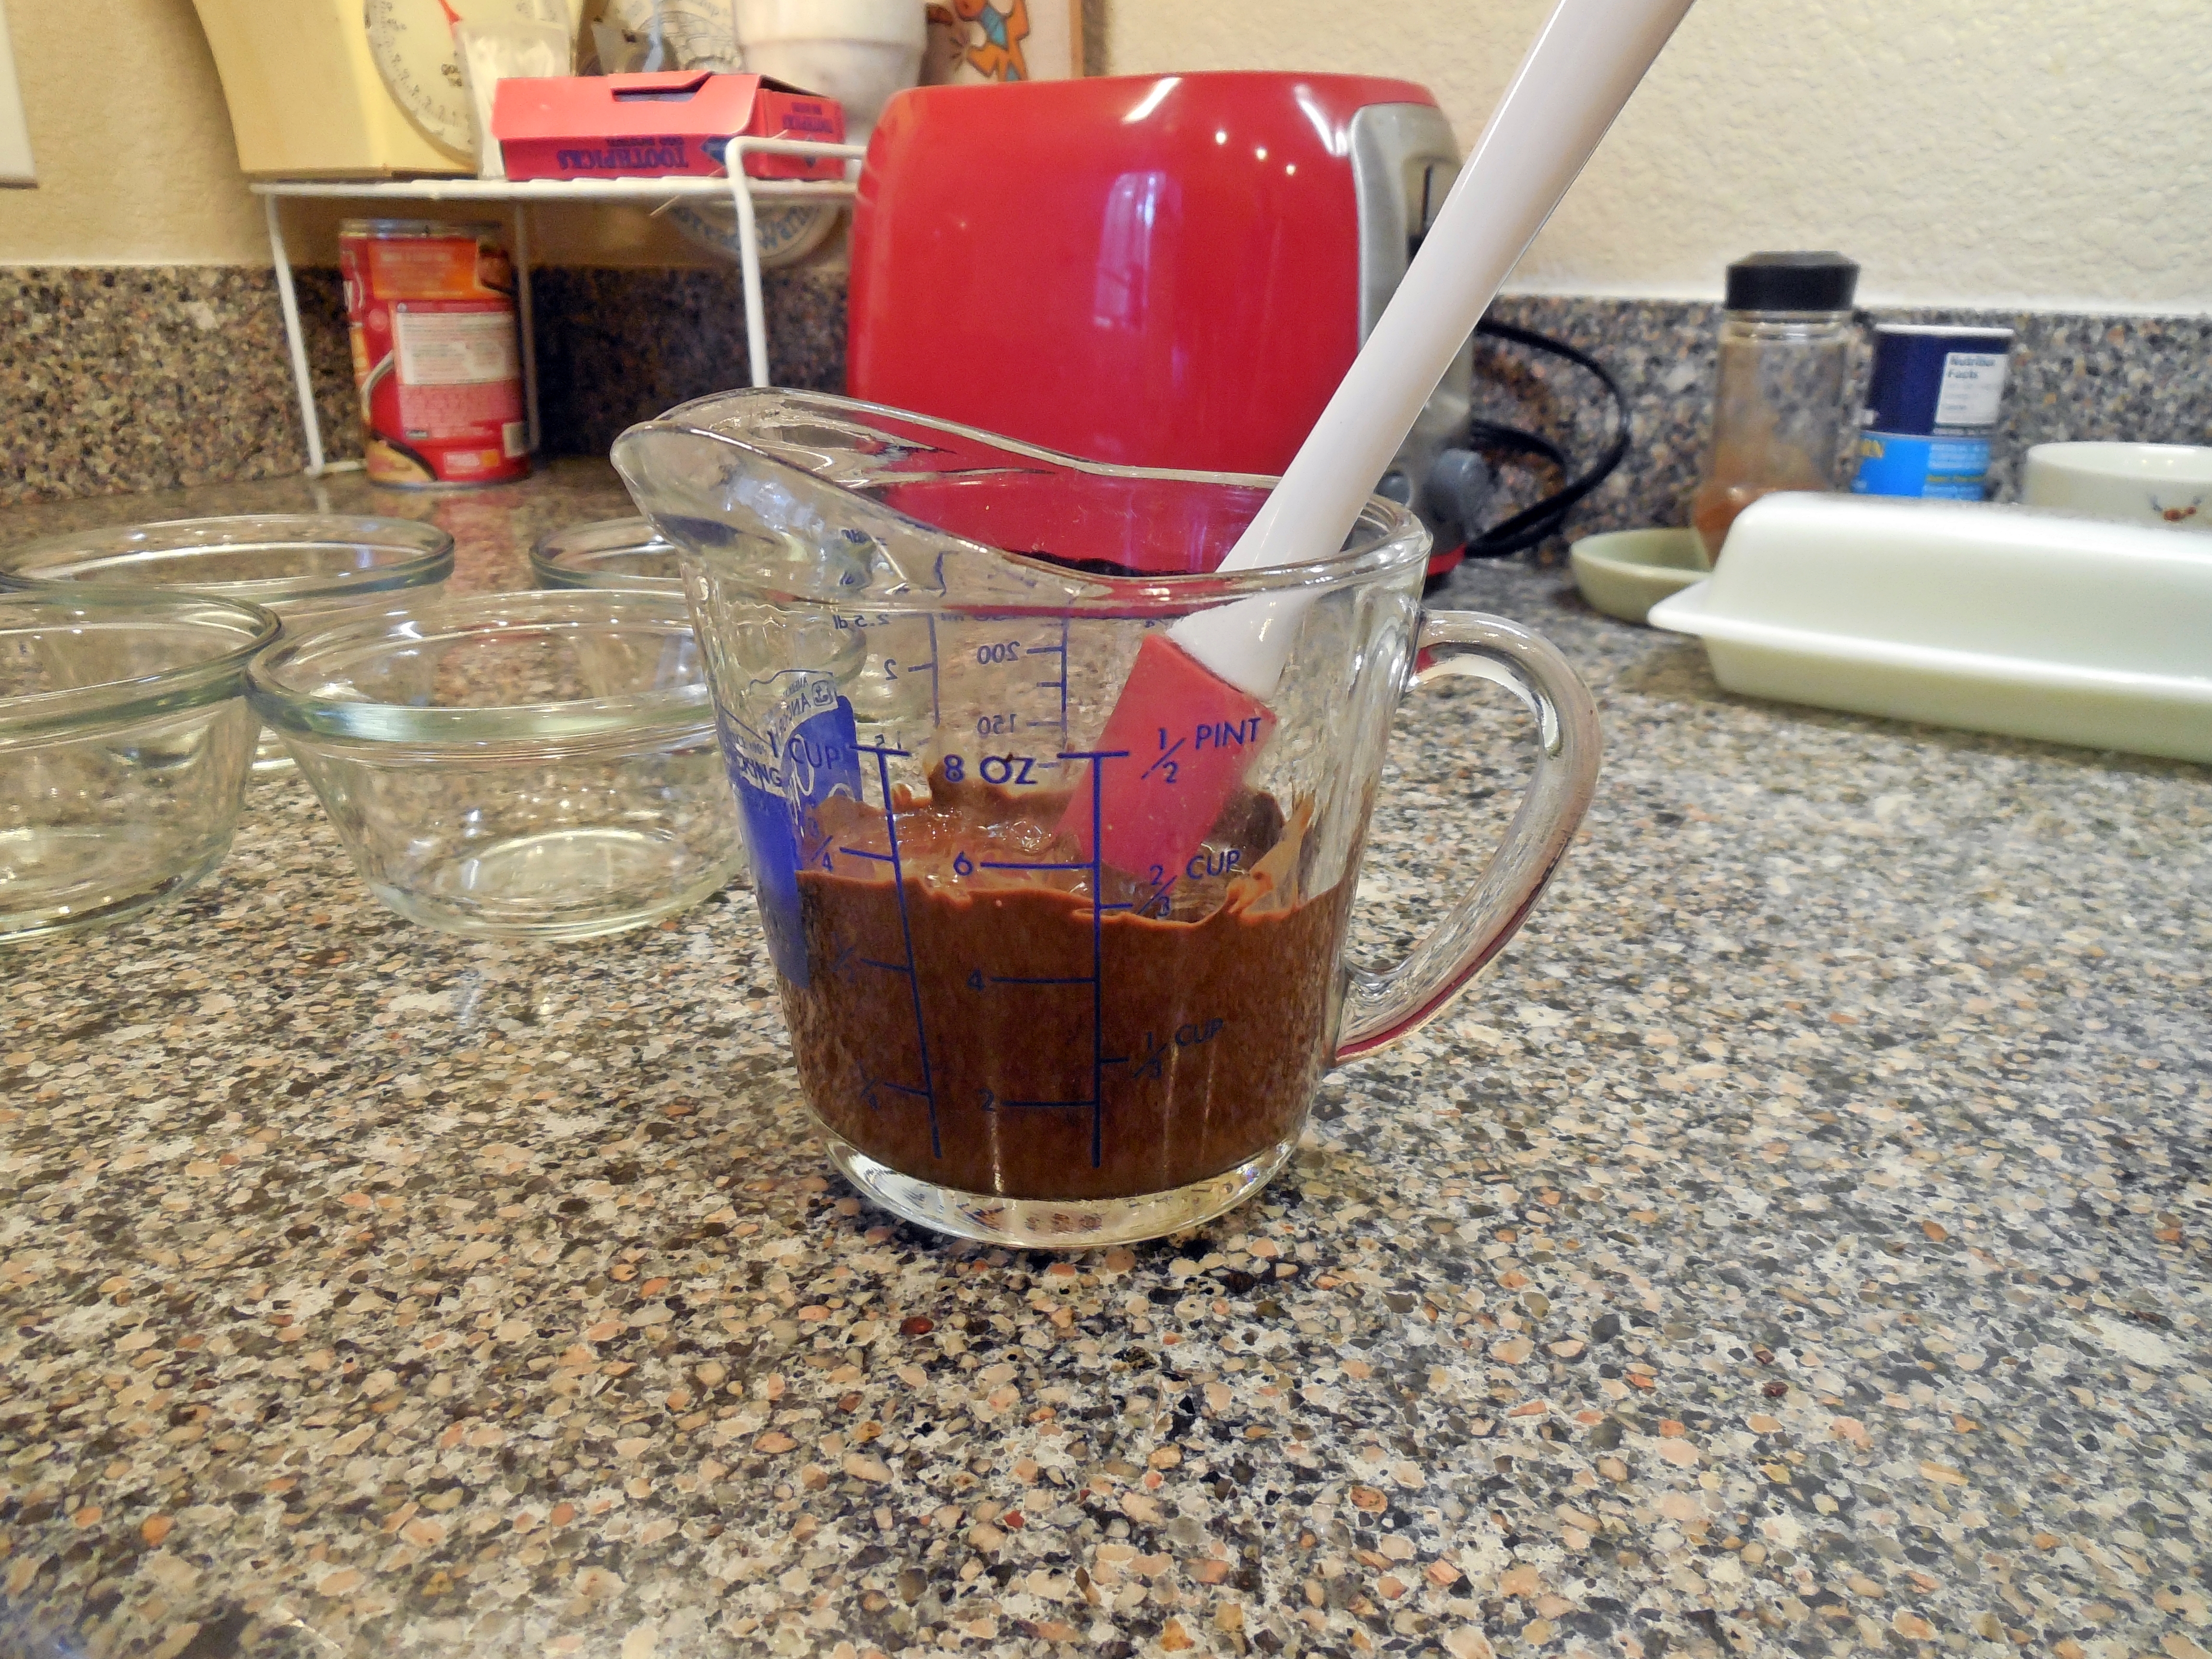
In the small saucepan, bloom the gelatin in 1/2 C water. (NOTE: I used a packet of gelatin and it was less than a tablespoon. My panna cotta came out creamy but loose. Go ahead and open a second packet of gelatin and measure it all into a tablespoon measure. You’ll be glad you did.) Once softened, heat gently over very low heat, then add the honey. Once honey is melted, remove from the heat and add the vanilla.

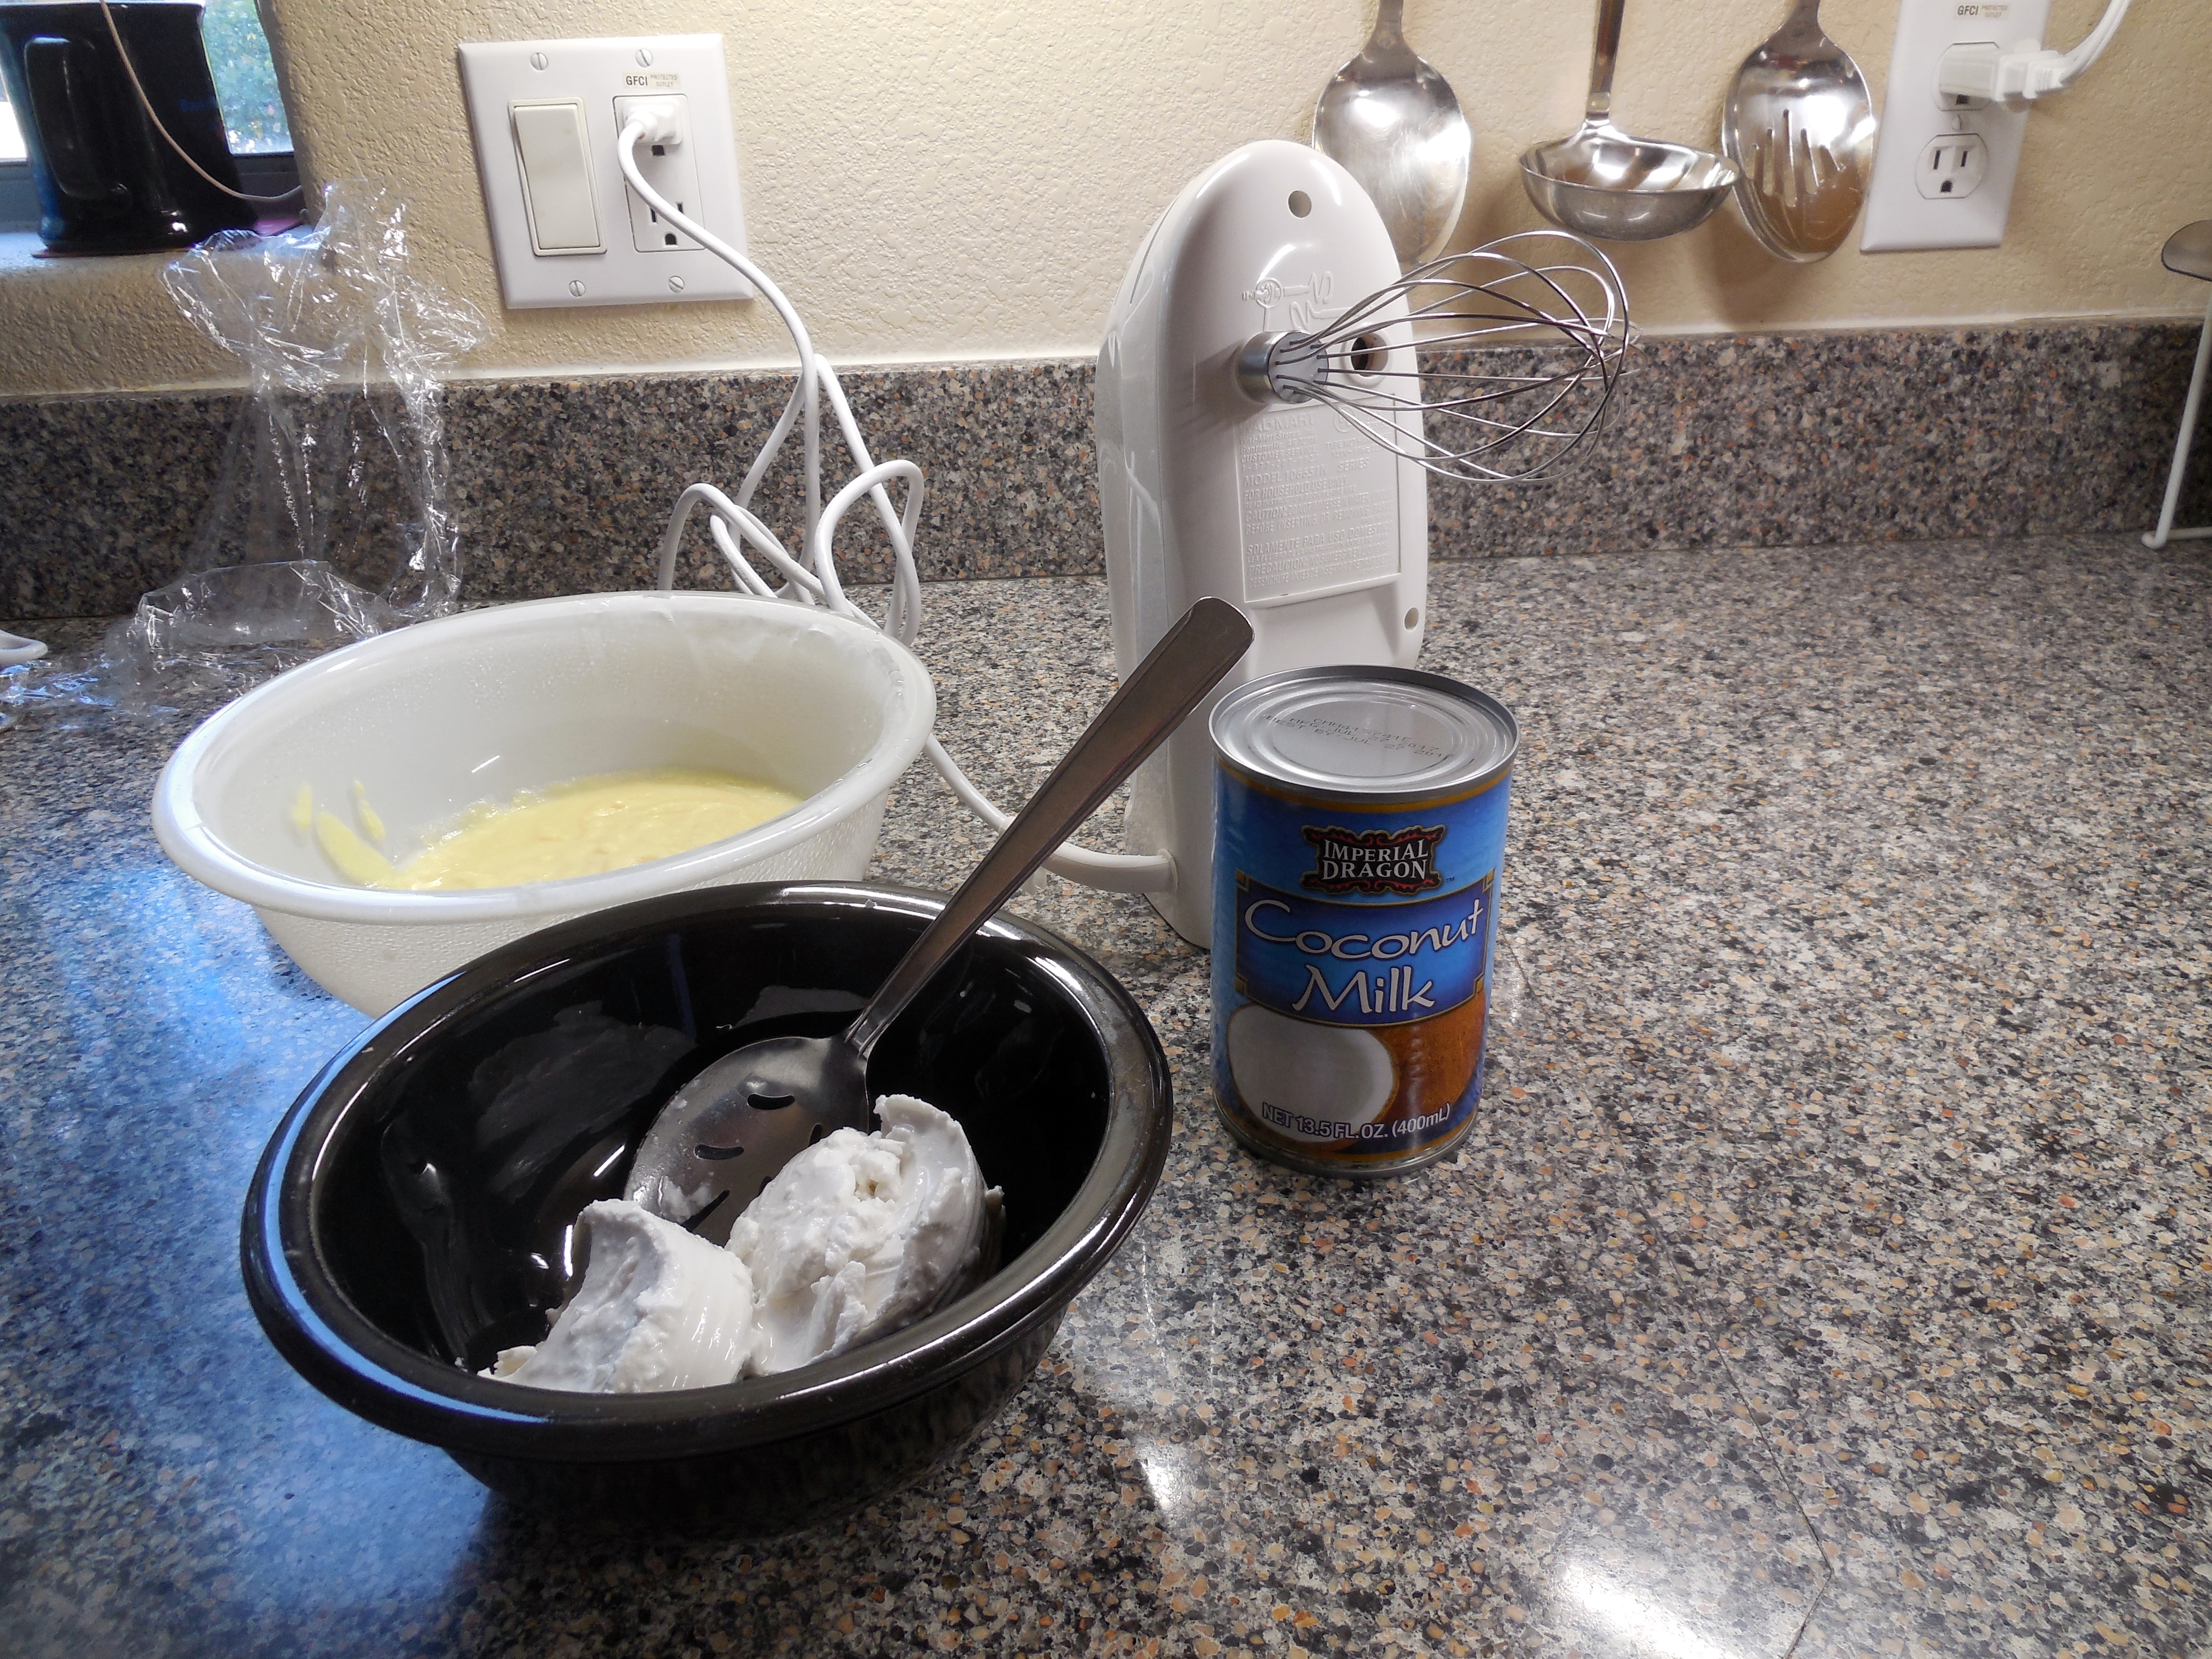
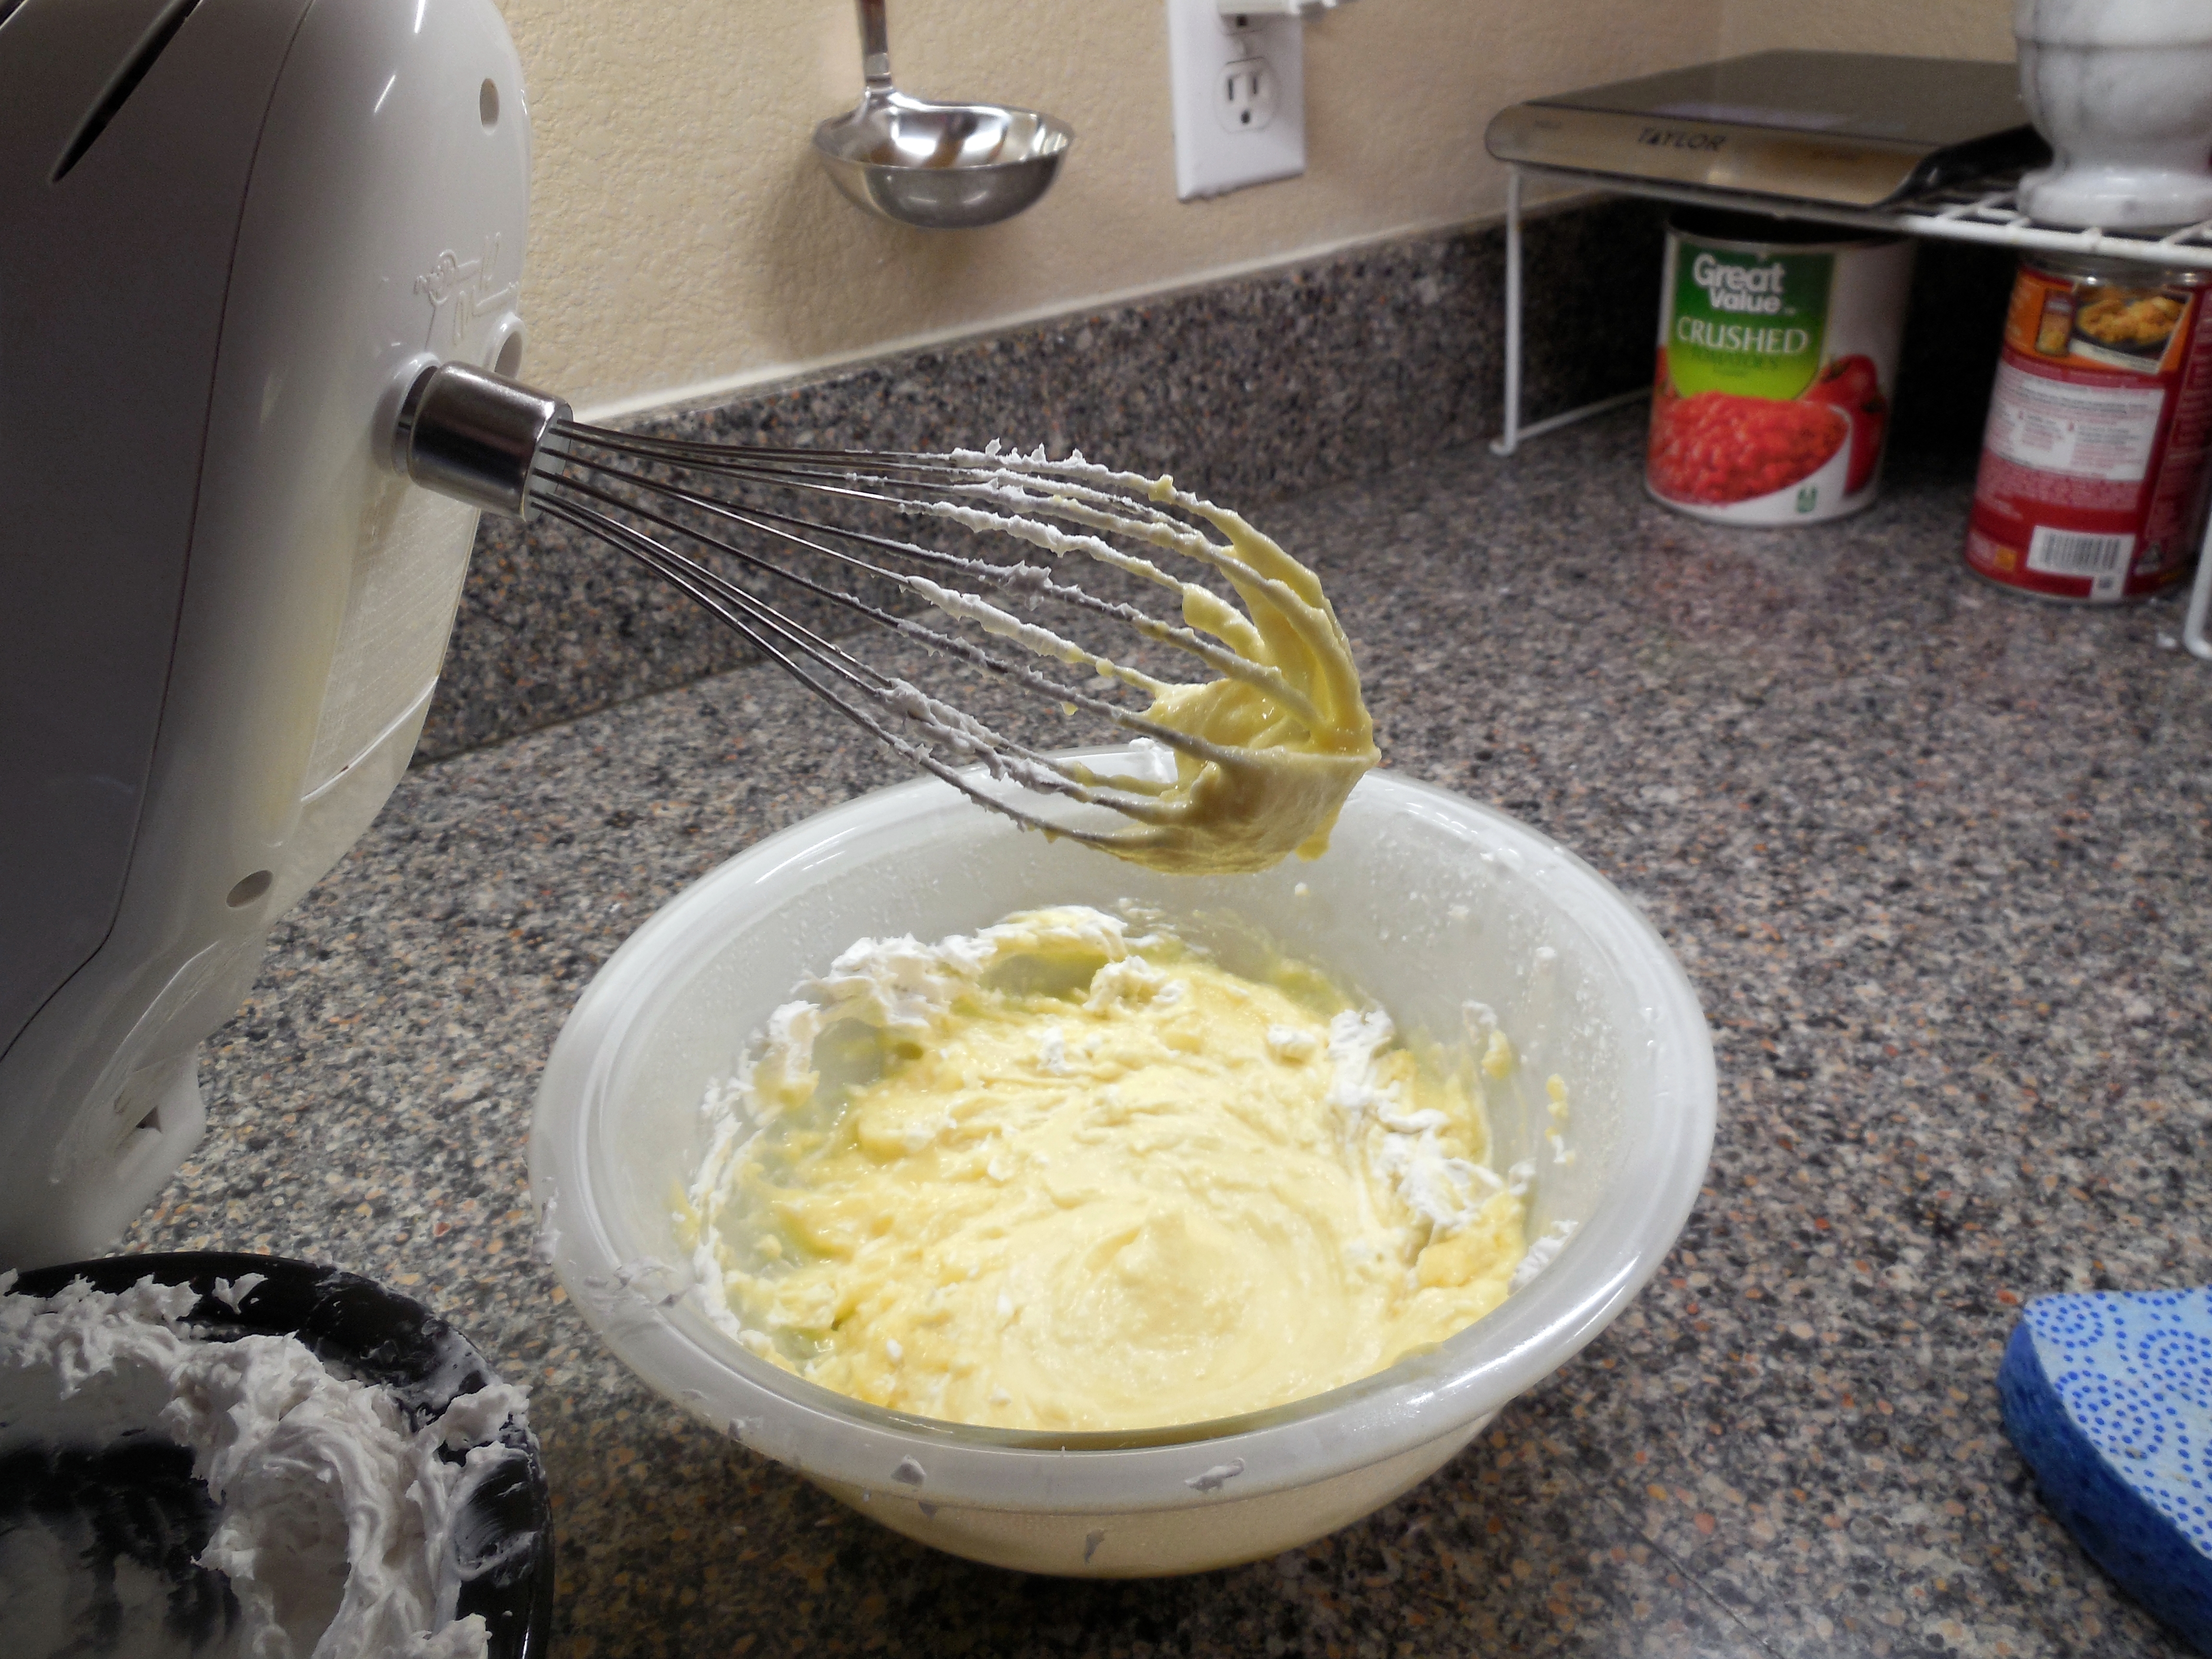
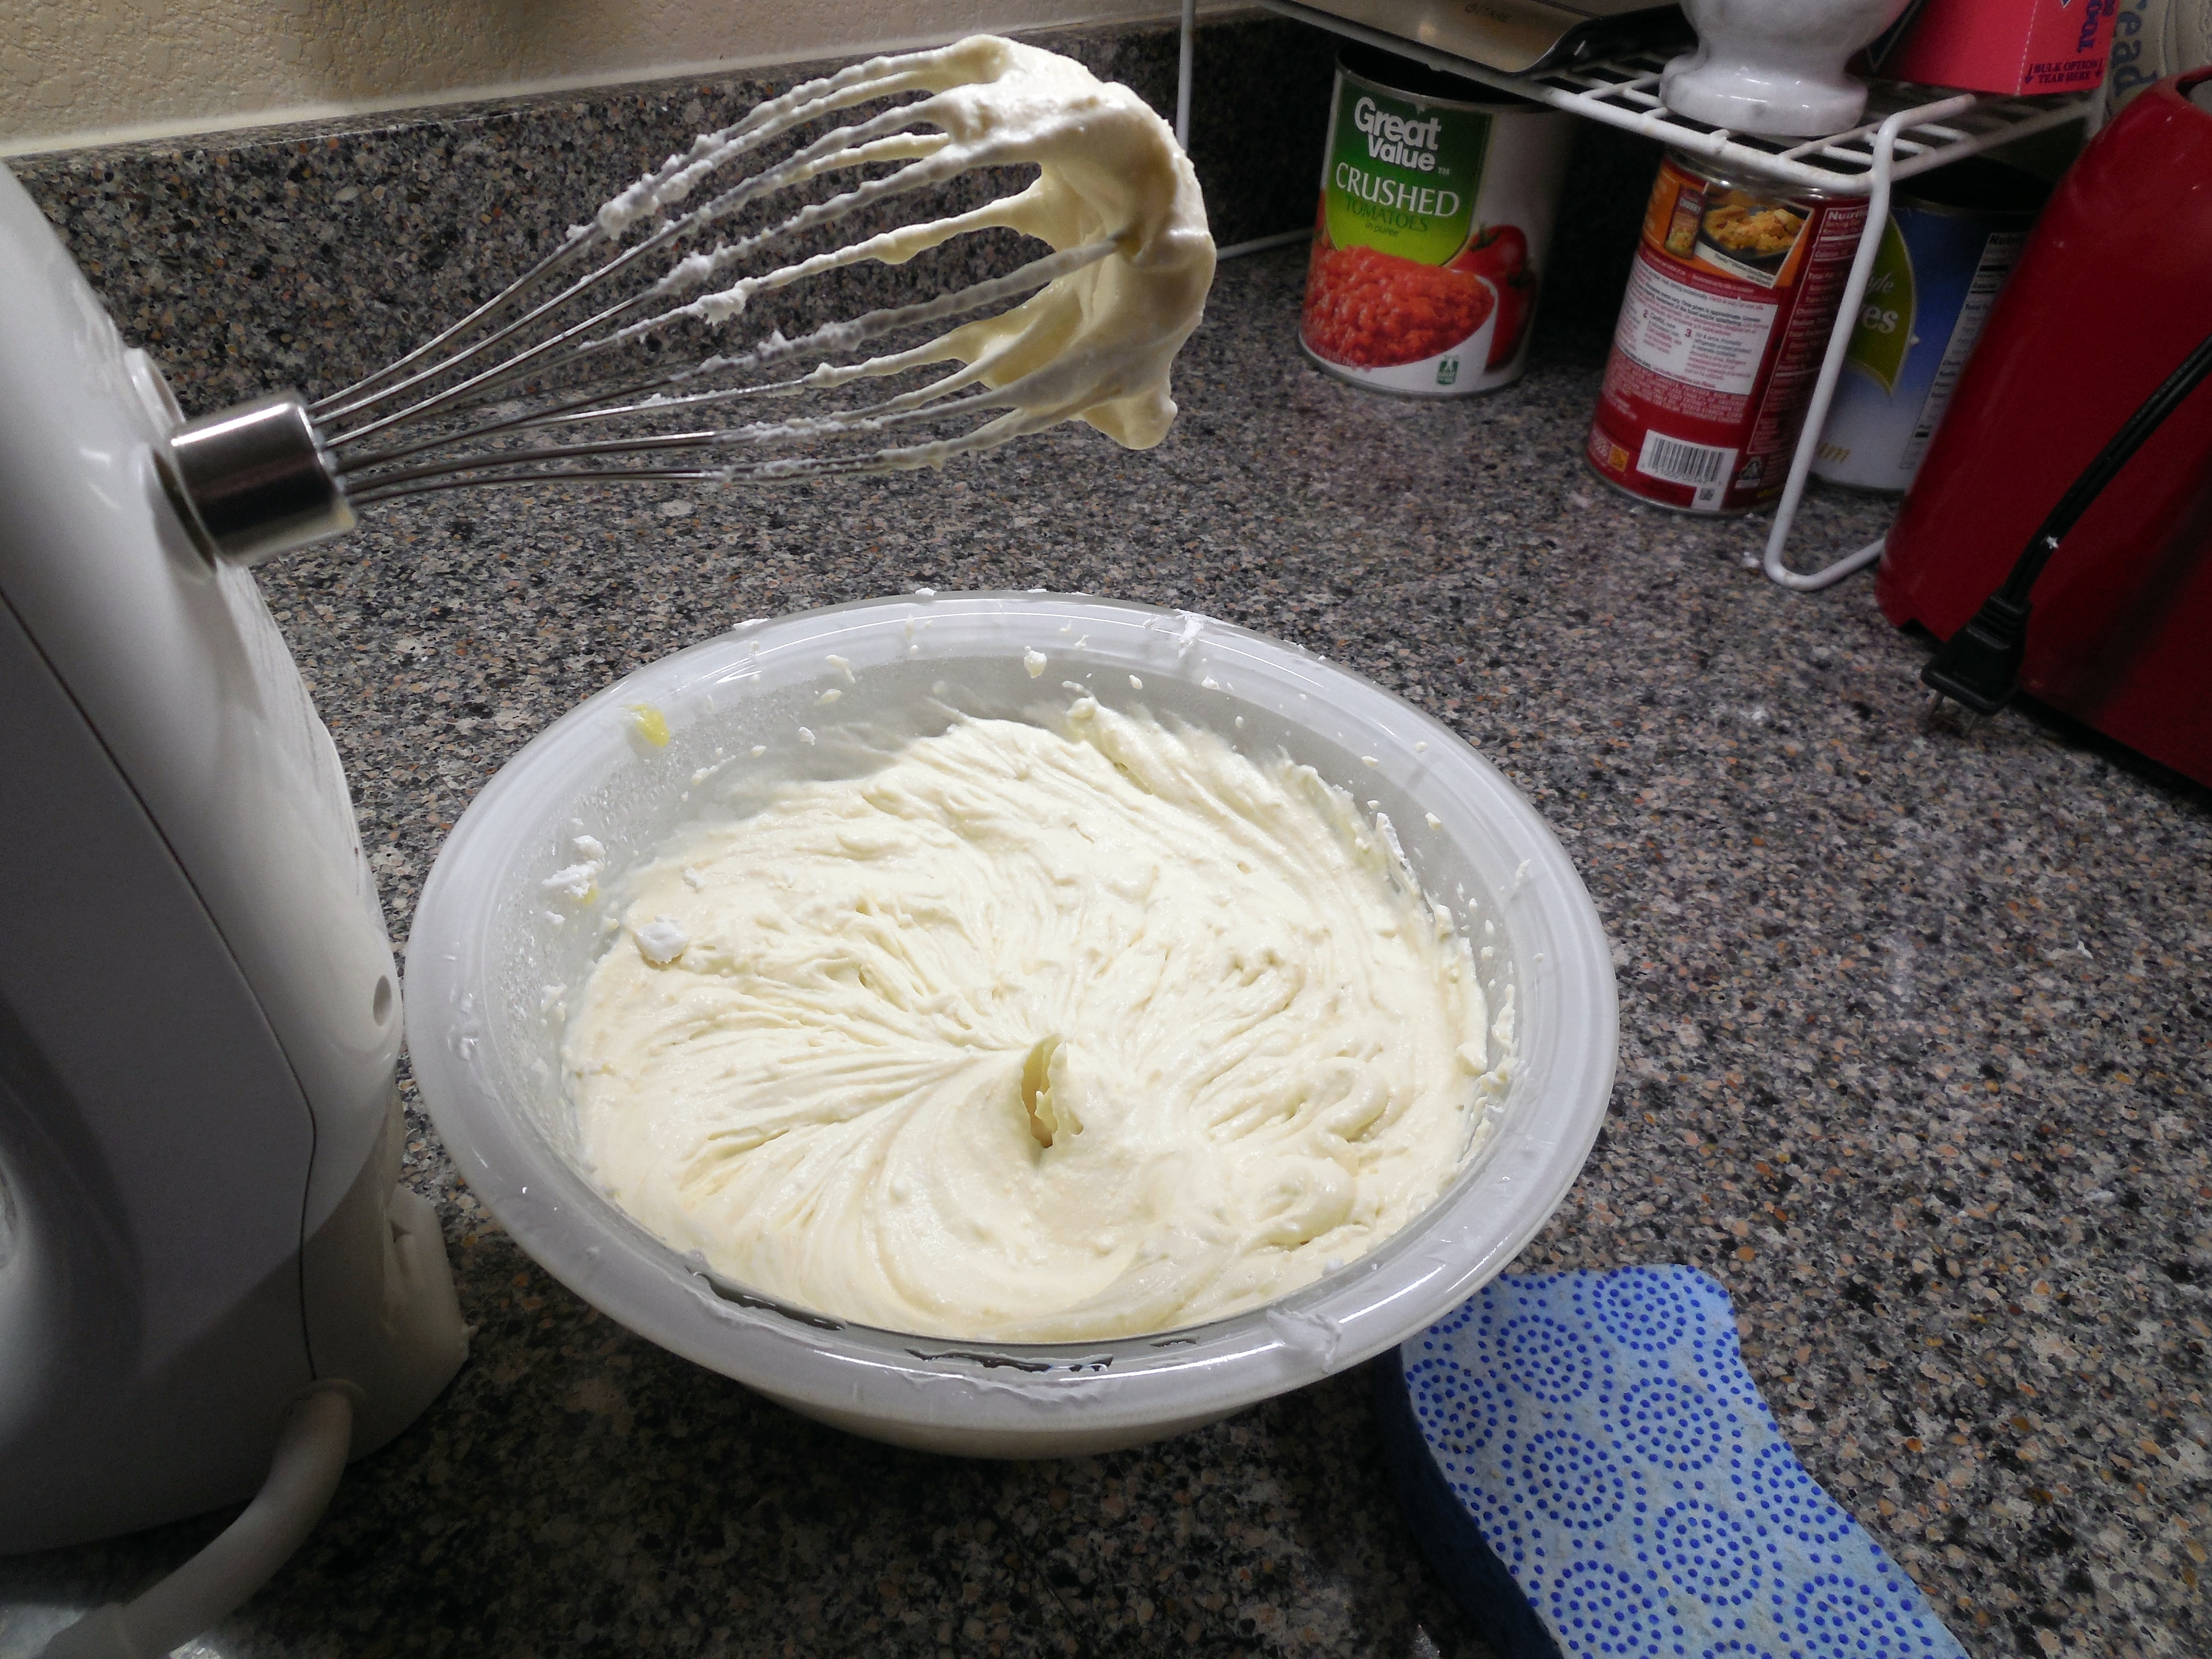
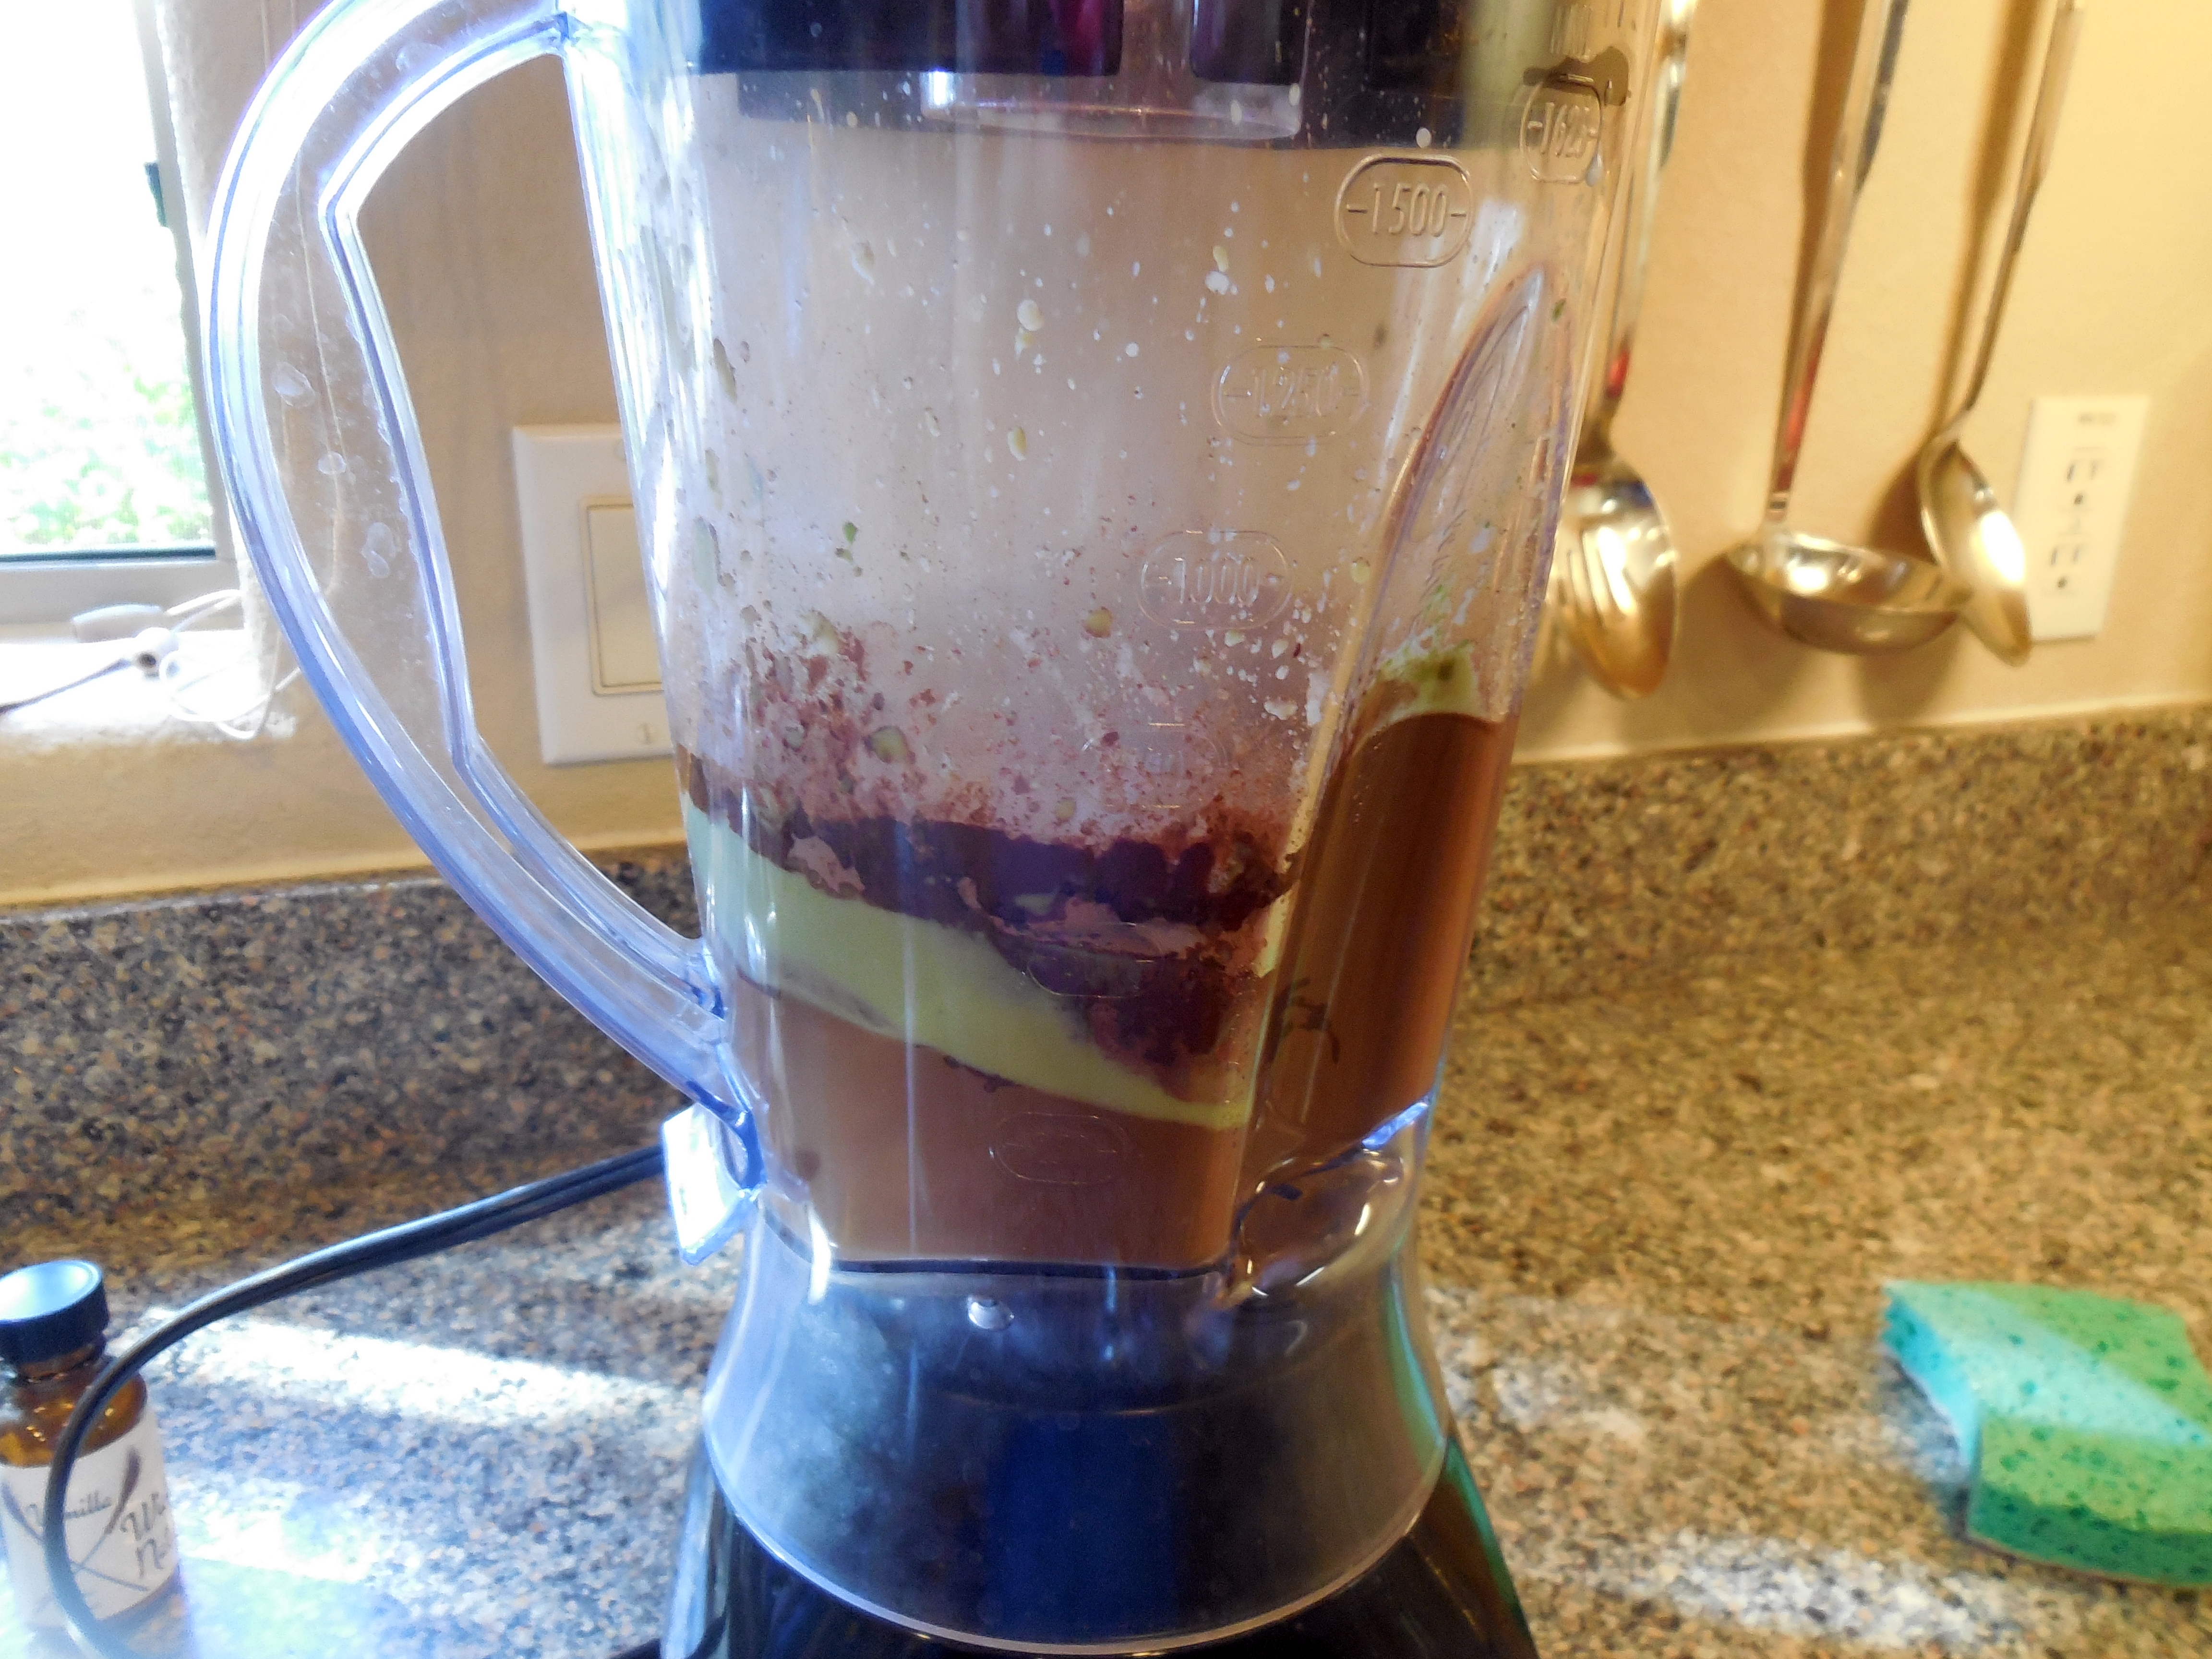
In the blender, mix the berries and coconut milk. (NOTE: The next time I make this, I’m going to try almond milk. The final dessert does taste a bit like coconut. That’s fine, but I’m going to try to get rid of the coconut flavor.)
Whisk the gelatin mix into the blender of coconut and berries. (NOTE: Any berry, fresh or frozen will work. Use your favorite or whatever is in season.)
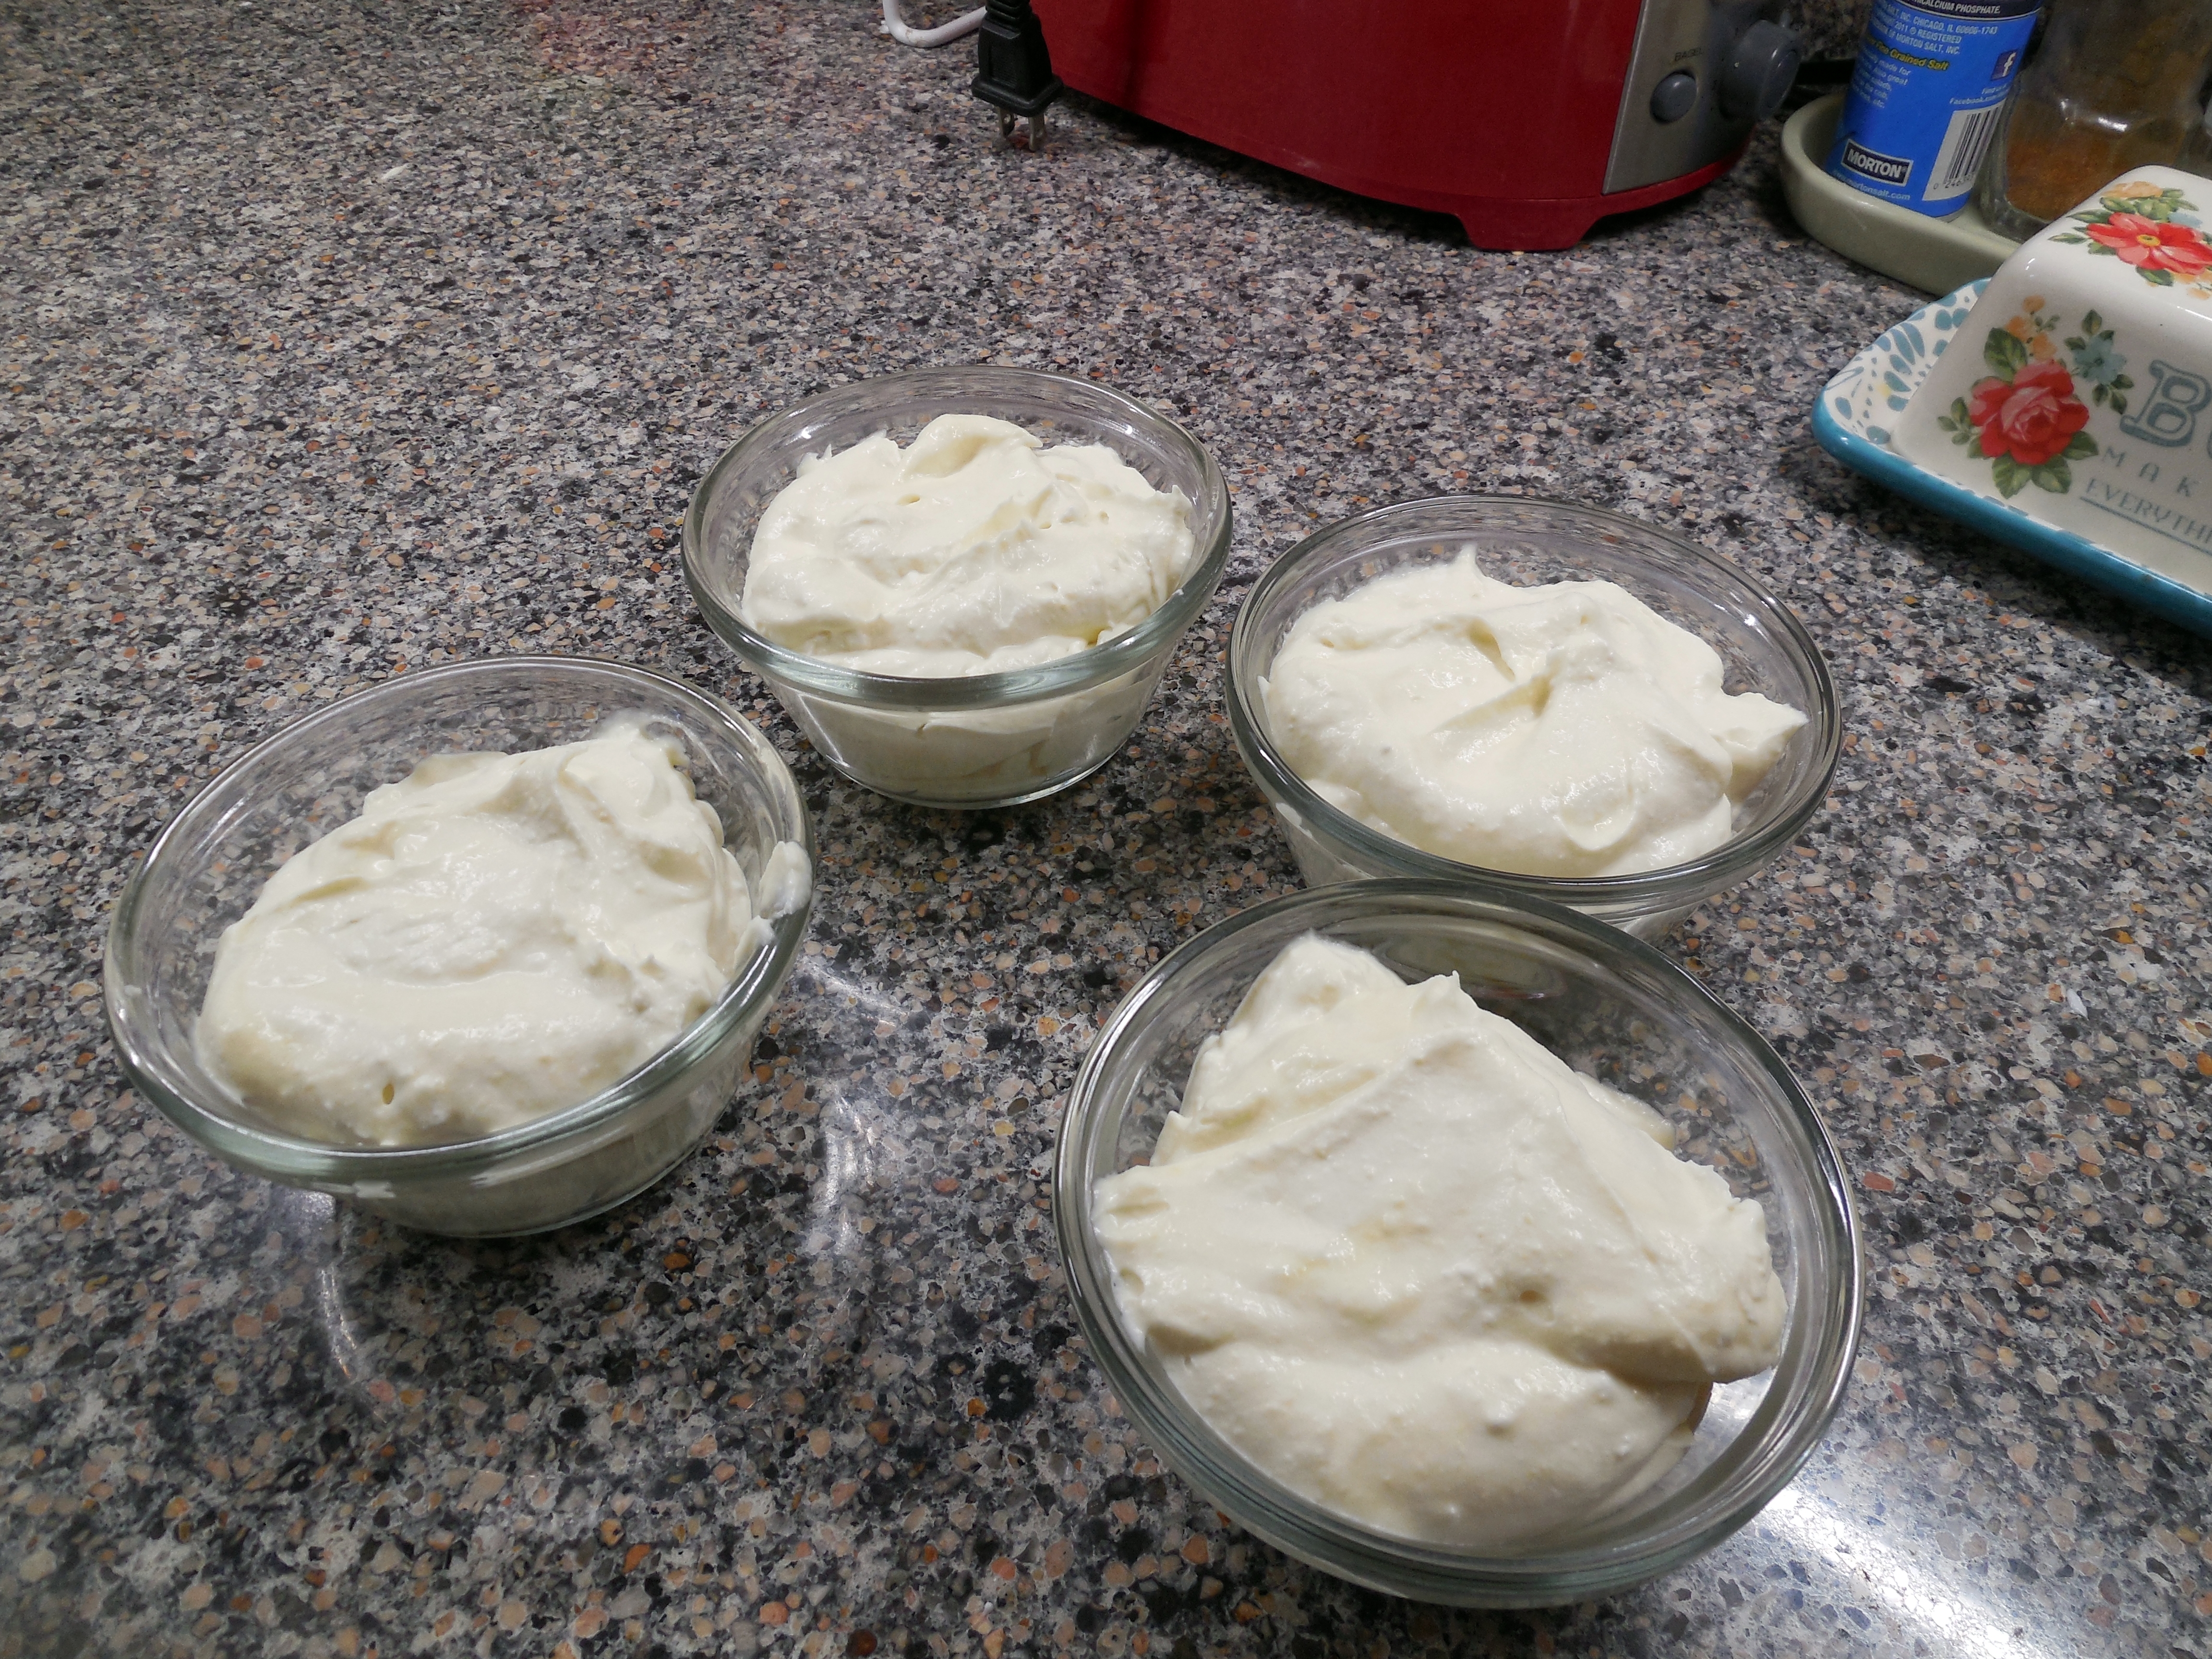
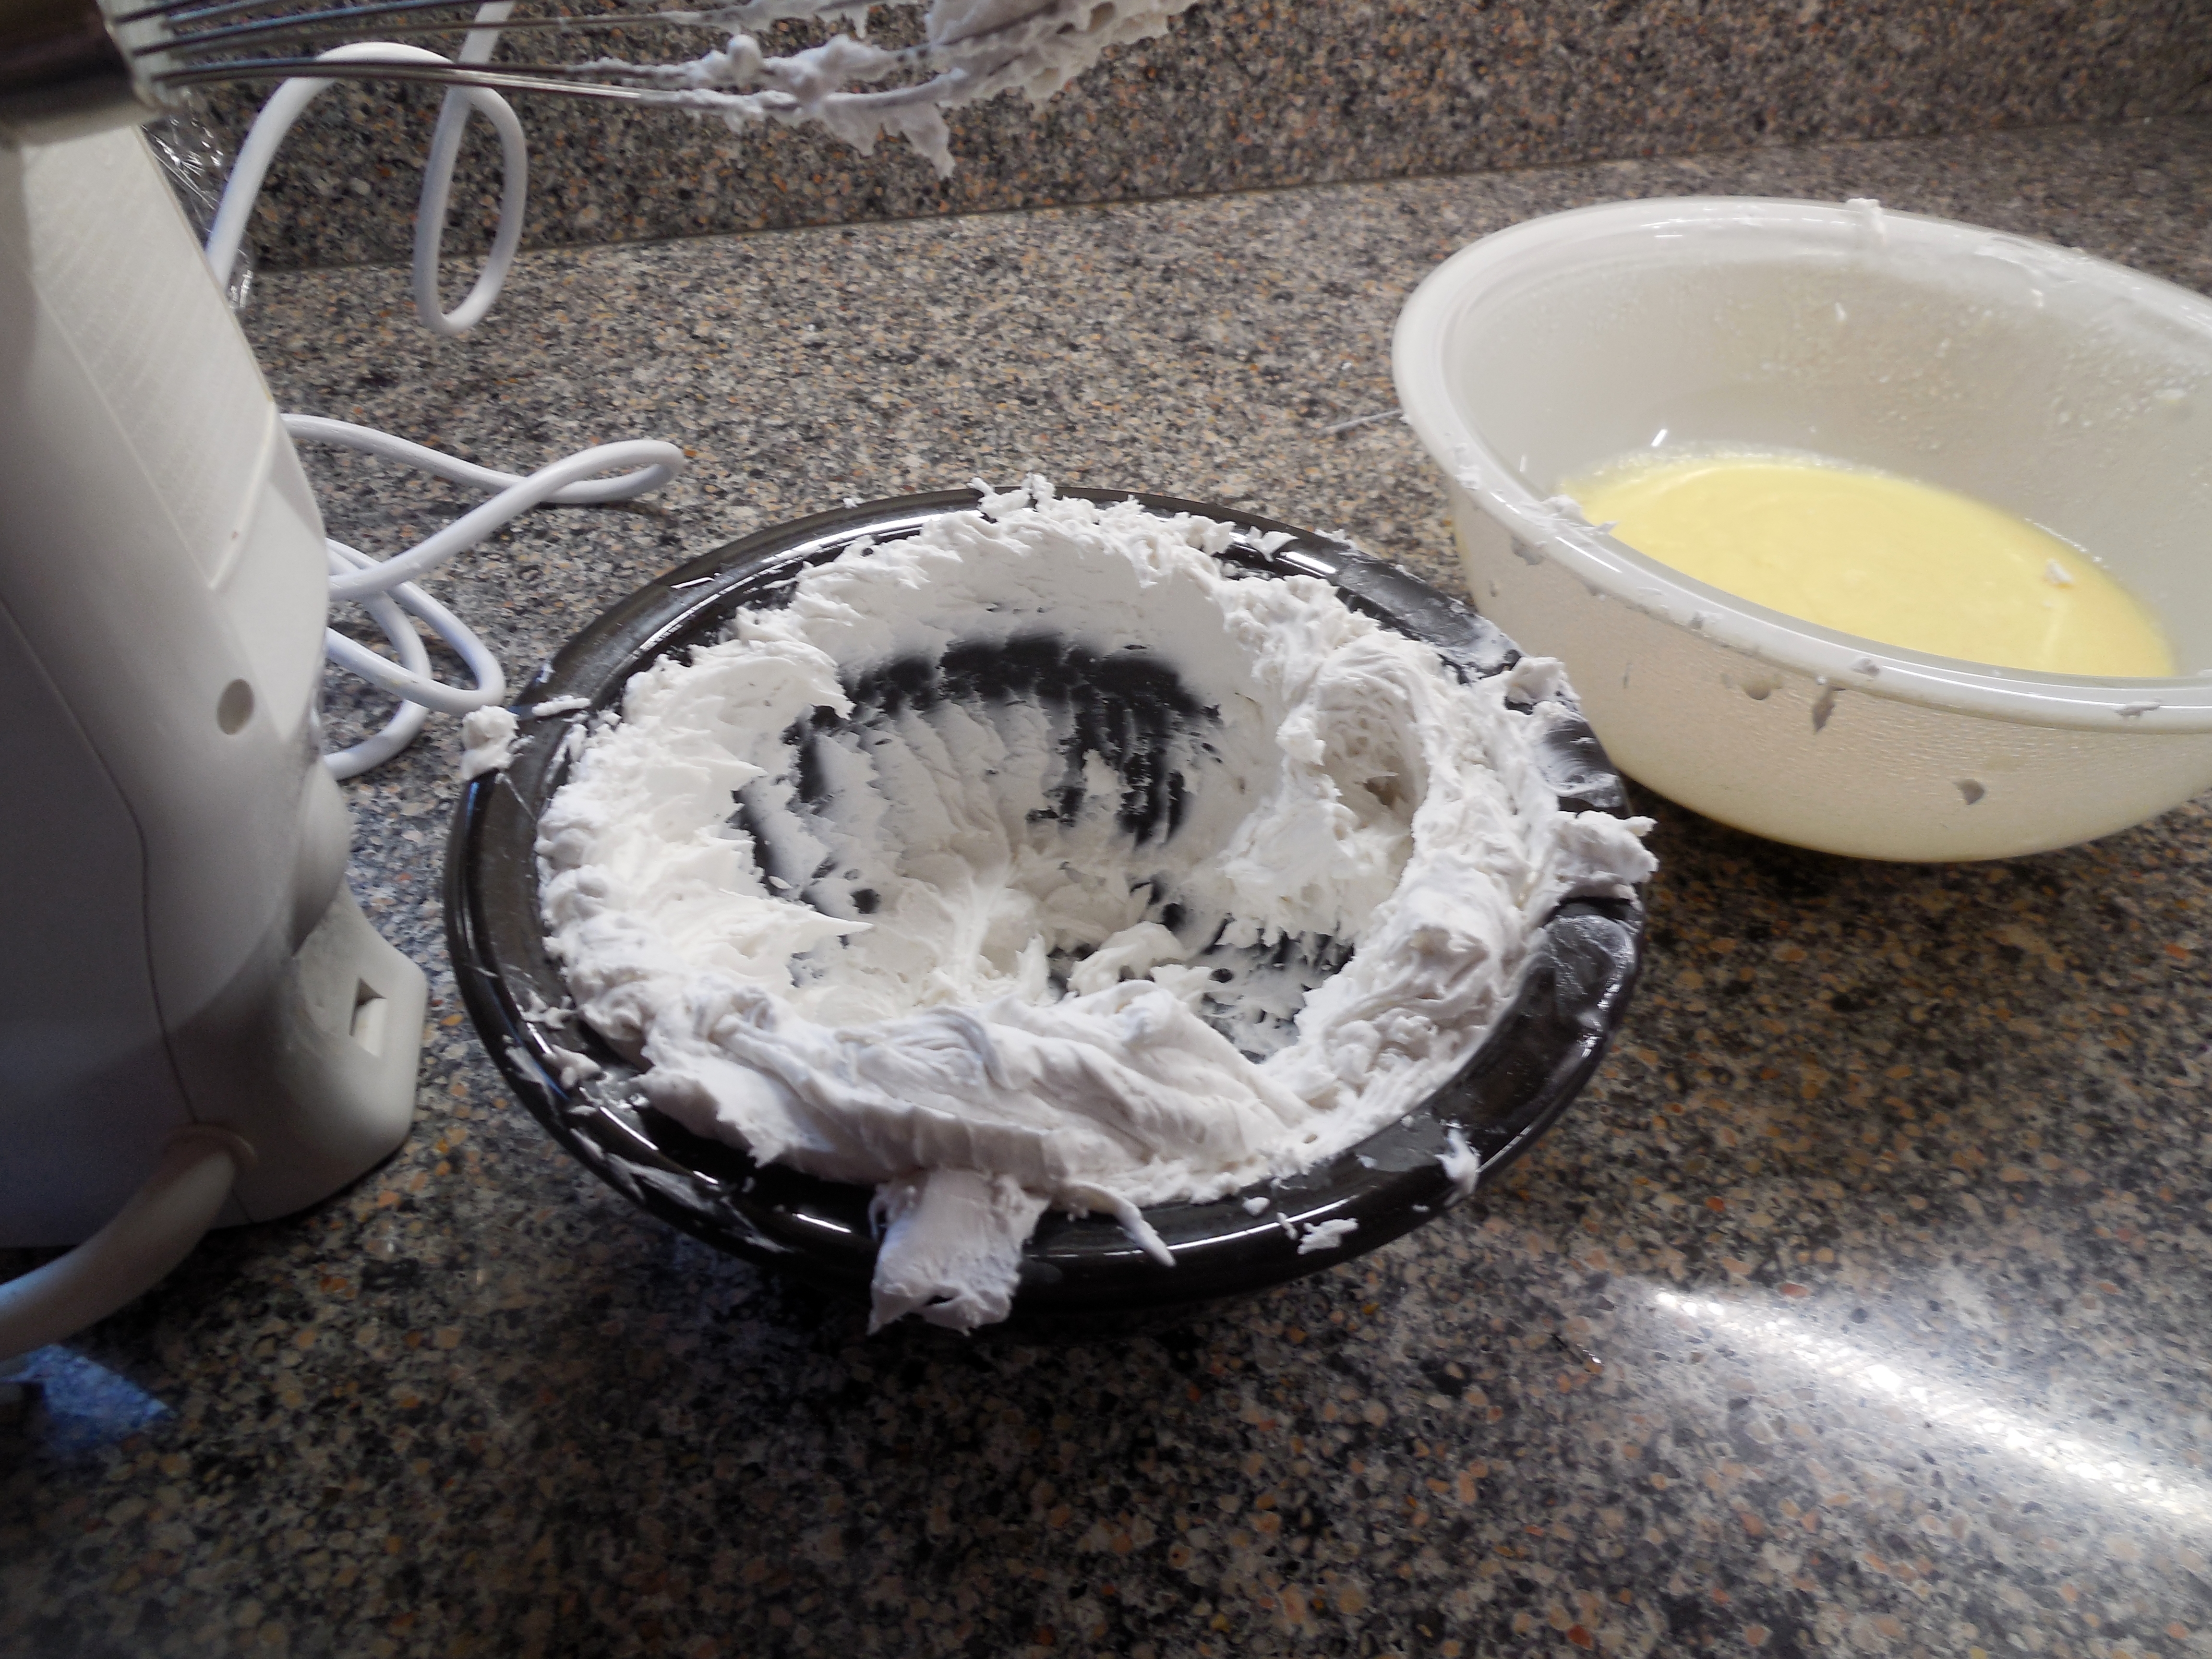
Pour into ramekins and cover with plastic wrap. Refrigerate at least 2 hours, or until set. (NOTE: you can dress your dessert with the fresh berries used in your dessert, whipped cream (if you don’t mind straying from your paleo lifestyle, or whipped coconut cream.)
Enjoy.
Thanks for stopping by Chicklets in the Kitchen. Do you have a favorite dessert to serve family or guests? Please tell us about it in the comments box below if you feel so inclined.
My name is Connie Cockrell and I write SciFi, Fantasy, Mysteries, and a lot of other things and you can find links to all of my books at www.ConniesRandomThoughts.com.