Cilantro-Lime Salmon Over Cauliflower Rice and Peas: Chicklets in the Kitchen Post

CilantroLimeSalmon007

Cilantro-Lime Salmon Over Cauliflower Rice and Peas

It’s Christmas and if you’re reading this on Christmas Day, you’re probably all set to eat your holiday dinner. Whether that’s a standing rib roast, a glazed ham, the feast of the seven fishes or some combination thereof, it’s probably over the top, heavy on the fats and sugars, and enough to put you in a food coma. The day after tomorrow is left overs, of course. But sometime before the final bingeing of New Year’s Eve, you more than likely want something a little lighter. This may be what you’re looking for.

I was watching an episode of The Pioneer Woman and she made a Cilantro-Lime Rice and Salmon dinner. I like salmon, and in my house, we don’t eat fish as much as we should. This recipe sounded perfect. I modified it to be paleo, and this is what I came up with. Feel free to make adjustments to fit your family’s tastes. This is easy and fast to make and very easy to be made to feed 2 people or a big crowd.


Cilantro-Lime Salmon over Cauliflower Rice and Peas feeds 3 with leftovers

Hardware

Cutting Board

Medium Mixing Bowl

1 Large and 1 Medium Frying Pan

Zester

Large Knife

1 Cup Measuring cup

Measuring Spoons

Large Spoon

 CilantroLimeSalmon001

Ingredients

Salmon

2 Limes, zested, juiced

1/2 bunch Cilantro, minced

1 1/2 each 12 oz packages Riced Cauliflower

1 cup frozen Peas

1 cup Gluten Free Soy Sauce

Oil for Cooking (I used Olive Oil)

Salt and Pepper to taste


Directions:

Cut salmon into serving size pieces. Salt and pepper both sides. (If you’ve purchased your salmon already portioned, even better!)

CilantroLimeSalmon003

Oil large frying pan and put the salmon skin side down in the hot pan. You want the skin to become crispy!

Oil medium frying pan and when hot, put the cauliflower rice in there. It can be added frozen. It will thaw quickly.

CilantroLimeSalmon002

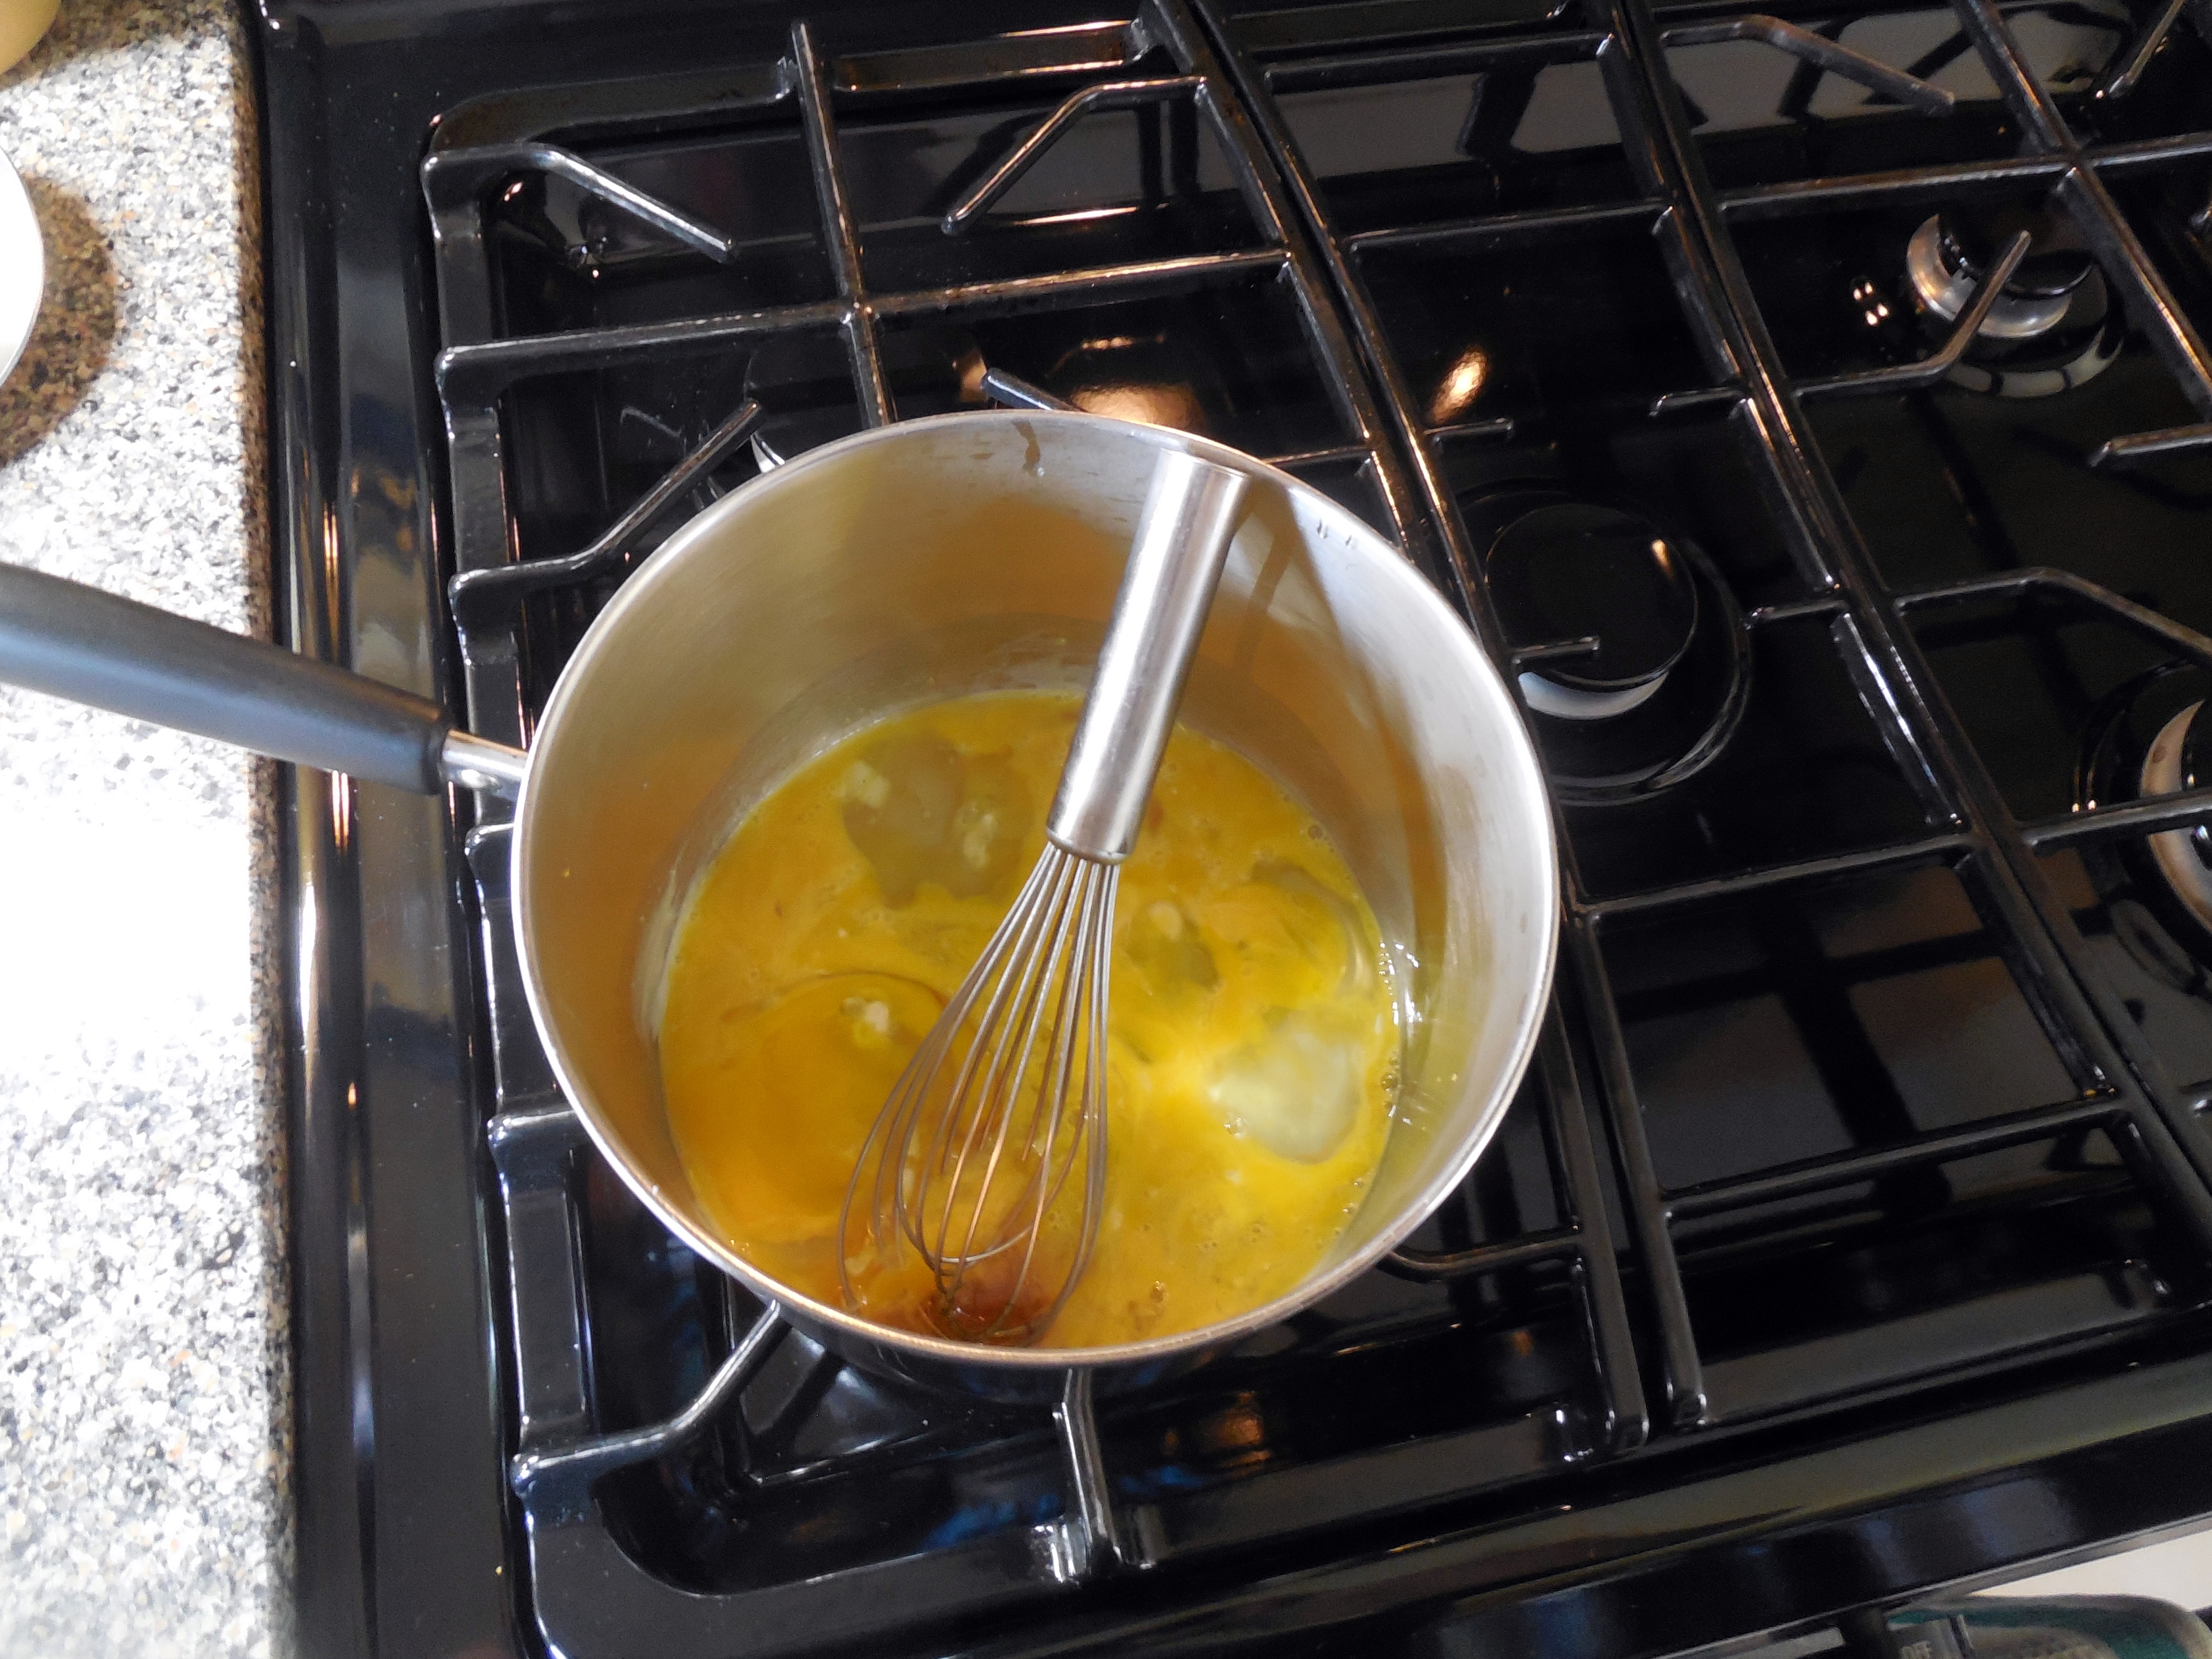
In the bowl, mix the cilantro, lime juice and lime zest. Stir together.

After 4 – 5 minutes, turn the salmon skin side up when you see white coming up the side of each piece. I like my salmon done through. If you like yours more rare, turn sooner.

Stir 1/3 of the cilantro-lime mixture into the cauliflower. Put the frozen peas on top.

CilantroLimeSalmon005


Remove salmon from pan. Add the remaining cilantro-lime mixture and the Soy Sauce to the pan. Bring to a low boil, reduce to about 1/2.

CilantroLimeSalmon006

Put the salmon pieces back in the pan, skin side up. You want to keep that skin crispy. Warm through.

CilantroLimeSalmon004

Stir the cauliflower and peas together.

Serve with the cauliflower-peas on the bottom, the salmon on top. Drizzle a little of the sauce over top.

It’s a lot of steps but each one is very easy. Enjoy!

Thanks for stopping by Chicklets in the Kitchen. Do you have a favorite fish dish to serve family or guests? Please tell us about it in the comments box below if you feel so inclined.

My name is Connie Cockrell and I write SciFi, Fantasy, Mysteries, and a lot of other things and you can find links to all of my books at www.ConniesRandomThoughts.com.

5 Minute Perfect Paleo Sandwich Bread: Chicklets in the Kitchen Post

PaleoBread004

We’re headed into the fall and one of the best things is roasted meat. You know—roast chicken, roast beef, roast pork, all the best things about cooler weather. And after the meal, what to do with the left-over meat? Sandwiches of course!

But if you’re on a gluten free or paleo lifestyle like I am, sandwiches are tough. Of course you can do a lettuce wrap. I like those, especially in the summer. But for cold weather, I like something a little heartier. And this bread fills the bill.

If you’re looking for a giant slice of bread, this isn’t going to be it. But taken as is, it’s tasty, holds together well, (especially lightly toasted), and easy to make. So give this a try. You’ll be glad you did.

Note: I took this recipe from the Paleo and Gluten Free Eats website. Find more tasty recipes there at https://paleoglutenfree.com/recipes/5-min-perfect-paleo-sandwich-bread/


5 Minute Perfect Paleo Sandwich Bread

Hardware

Bread Pan, 4.5 X 8.5 inches

Parchment Paper

Mixing Bowl

1 Cup Measuring cup

1/2 Cup Measuring cup

Measuring Spoons

Large Spoon

 PaleoBread001

Ingredients

1 1/2 Cup Almond Flour

3 Tablespoons Psyllium Husk Powder

2 Teaspoons Baking Powder

4 Large Eggs

1 Teaspoon Sea Salt

1/2 Cup Apple Sauce

1/4 Cup Coconut Oil


Directions:

Preheat oven to 400F. Line the bread pan with parchment paper. Note: I sprayed the pan with cooking spray first as it helps keep the parchment paper in place.

Combine all of the ingredients together in a food processor (or by hand). Blend until the batter becomes smooth. Note: I just used a mixing bowl and a large spoon. I didn’t even melt the coconut oil first.

PaleoBread002

Pour that dough (it’s a thick batter) into the lined loaf pan and cook on 400F for 30 minutes until golden brown on top.

PaleoBread003

NOTE: I let the bread cool in the pan for about 15 minutes, then take it out and let it cool to room temp before peeling off the parchment paper and putting into a gallon storage bag. I store it in the refrigerator as I don’t eat the bread very fast to keep it from going bad quickly.

Enjoy your bread as toast, sandwiches or even to make croutons for your salads.

Thanks for stopping by Chicklets in the Kitchen. Do you have a favorite bread to serve family or guests? Please tell us about it in the comments box below if you feel so inclined.

My name is Connie Cockrell and I write SciFi, Fantasy, Mysteries, and a lot of other things and you can find links to all of my books at www.ConniesRandomThoughts.com.

Three Ingredient Coconut Yogurt: Chicklets in the Kitchen Blog Post

Fruit and Yogurt Snack

Homegrown peaches with home made yogurt!

I have to say, the last three to four weeks I’ve pretty much blown off doing my paleo lifestyle. I re-introduced grains in the form of gluten-free bread and pizza crust, have been eating ice cream with homemade chocolate shell, and even gotten into the Reese’s Peanut Butter cups. (Peanuts are a no-no on paleo, not to mention the sugar.) Sigh.

Then I’m also stressed about the upcoming Northern Gila County Fair. I’ve introduced on-line exhibit registration and from what I can tell, it’s not being used. That means it’s going to be a lot of hands-on exhibit registration again this year. But I’ll have to input all of that hand-written stuff again, manually, into the fair database. Another sigh.

Anyway, this month I decided to do a video about this three-ingredient coconut yogurt. You can see from my face the result of eating the grains and dairy and sugar. Ugh. Back on the paleo I go. In the meantime, though, I’ll have lots of this delish yogurt to help me stay on my path. Clear skin, here I come.


Three Ingredient Coconut Yogurt

Hardware

Saucepan

Large Pot

2 Quart Measuring cup

1 Cup Measuring cup

3 One-pint canning jars

Tongs

Rubber Spatula


Ingredients

1 T/1 package unflavored gelatin

3 Cans (40.5 fluid ounces) coconut milk

4 capsules live probiotic (The more strains of probiotic the better. I used Solaray, mycrobiome probiotic, 30 billion live cultures, 24 strains. Live probiotics are kept in the refrigerated section of your local health food store.)

1/2 cup water


I made my first ever cooking video to show you how to do this. The video is hilarious as I made all sorts of mistakes. No matter. I think you’ll get the gist and you’ll have a laugh with me as you watch. See it here: https://youtu.be/0f-E_E41I24

Directions:

In the 1 cup measuring cup, bloom the gelatin in 1/2 C lukewarm water. (NOTE: A packet of gelatin is less than a tablespoon. You may want to go ahead and open a second packet of gelatin and measure it to reach a full tablespoon measure. Using two packets makes the yogurt very firm. Using no gelatin leaves the yogurt liquid.) As you use this recipe more than once, you’ll come to figure out how much you need for your taste and location.)

In the saucepan, pour in the coconut milk and heat to boiling. Many recipes I reviewed for this said this wasn’t a necessary step as the canned coconut milk should already be sterile. However, if you want to, go ahead and bring the milk to a boil for 5 minutes, then turn it off and pour into the two-quart measuring cup to cool. You must get the coconut milk down to under 110 degrees Fahrenheit. Hotter will kill the probiotics you’ll be adding in the next step.

Add the water/gelatin mix into the warm coconut milk. Stir to incorporate.

Open the caplets of probiotic and add to the under 110-degree mix and stir. Make sure the probiotics aren’t clumped up.

Lightly cover the container to keep out dust and put somewhere warm. I used my cold oven. Other people use a warm window sill. Some wrap the container in clean towels to help it stay warm. As long as the mixture isn’t in a cold spot, it should do fine. Hold it there twelve hours. Can you skip this step? No. This is where the probiotics you’ve added have a chance to grow and make your coconut milk into yogurt. This is as essential as the step where you let your bread rise.

After twelve hours, put your container, still lightly covered, in the refrigerator for another twelve hours. This lets the flavors develop and the yogurt to firm up.

Sterilize your canning jars and lids. Pull from the boiling water onto a clean kitchen towel and let cool to room temperature.

After the second twelve hours, you can eat your fresh yogurt! Store any extra in the sterilized canning jars.

NOTE: You’ll notice that aside from canning jars, I don’t use any equipment you don’t already have in your kitchen. Canning jars are generally available by the dozen in your local hardware stores, but I know I can also find them in the local thrift shops. ALWAYS use new canning jar lids (the flat part with the thin rubber circled edge.) This is essential to making sure you get a good seal on the canning jar. (This is less critical for the yogurt.) If you’re canning fruit or vegetables or jam/jelly, you have to get a good seal to keep the food safe. The rings that hold the lids are reusable.

Enjoy that fresh tangy flavor. In addition to having it as a snack or breakfast with fruit and nuts, you can also use your yogurt in homemade salad dressings, in place of some of the mayo in your macaroni or tuna salads, as part of your pancake toppings and so much more.

Thanks for stopping by Chicklets in the Kitchen. Do you have a favorite snack or dessert to serve family or guests? Please tell us about it in the comments box below if you feel so inclined.

My name is Connie Cockrell and I write SciFi, Fantasy, Mysteries, and a lot of other things and you can find links to all of my books at www.ConniesRandomThoughts.com.

Banana-Loquat Smoothy: Chicklets in the Kitchen Blog Post

Banana-Loquat Smoothie

So last month I posted a coconut-lemon whip recipe which I made from meyer lemons from my daughter’s back yard tree. She also had, loquats, ripening. A loquat is a cross between a plum and a cumquat. Sweet, yellow, small (1 – 2 inch) oval shaped fruit with anywhere from 1 to 4 fair-sized seeds inside, depending on how big the loquat is.

The loquats are delicious, sweet and succulent. Unfortunately, they don’t travel or keep well so not a commercial fruit as far as I can tell. I was very fortunate, then, to get about a pint of them.

Rather than eat them one by one, I cut them in half, de-seeded them, cut in quarters, and dropped into my blender. This time of year I prefer smoothies for breakfast to juice as with a smoothie you get all of the fiber. Also, I don’t, yet, have a juicer.

Banana-Loquat Smoothie

Hardware

Cutting Board

Knife

Blender

Cup and straw


Ingredients

1 pint Loquats, cut in half, seeded, then cut into quarters

1 ripe banana, chunks

1 cup Almond Milk (more or less as desired thickness)


Directions:

Put the cut loquats, the banana, and the almond milk in the blender. Blend on puree until smooth. Add ice if you want it very cold. (Lessen the amount of almond milk if you do.) Pour into your glass.

Enjoy.

Thanks for stopping by Chicklets in the Kitchen. Do you have a favorite smoothie to serve family or guests? Please tell us about it in the comments box below if you feel so inclined.

My name is Connie Cockrell and I write SciFi, Fantasy, Mysteries, and a lot of other things and you can find links to all of my books at www.ConniesRandomThoughts.com

Coconut-Lemon Whip: Chicklets in the Kitchen Blog Post

Finished Lemon Whip

Coconut-Lemon Whip

I apologize for the lack of posts. March and April were extremely crazy for me but I didn’t forget about you. April saw me take an actual vacation, to see my daughter in southern California. We enjoyed the beach (cold!) and Solvang, CA, (hot!), and my daughter’s and her room mate’s new house. It’s small, but the back yard has producing fruit trees. One was a Meyer lemon, the lemons ripe and ready to pick. So of course, I brought home five of them. What else could I do but make a dessert?

I’m still sticking to my Paleo life-style. Whatever your eating style, there’s nothing wrong with whole, fresh food, especially straight from the tree! Fair warning, because of the coconut oil and milk, this isn’t low fat but it is “good” fat. Enjoy in moderation. It makes four 8oz, ramekins of dessert.

Paleo Lemon Curd

Hardware

Sauce Pot

Strainer

Measuring cups and spoons

Knife

Cutting board

Zester or Micro-plane


Ingredients

1/2 cup juice: 5 Meyer Lemons (6 or more regular lemons depending on how juicy they are.)

1 T Lemon zest

3 eggs (whole)

1/4 C Honey

6 T Coconut Oil


Directions:

Over gentle heat add the zest, eggs and honey to the sauce pot and whisk until the mixture is pale yellow and thickened.

Add the juice and 2 T of the coconut oil. Whisk and adding more oil as soon as the previous additions have melted. Whisk and add until all the oil is added and the mixture is thick and bubbly. Don’t stop whisking. It will burn very fast.

Strain through a fine mesh strainer into a large mixing bowl. Cover and put in the refrigerator several hours or overnight. I do let it chill overnight.


Coconut Whipped Cream

Hardware

Large Mixing Bowl

Hand Mixer with Whisk Attachment

Ingredients

14 oz Coconut Cream (TastesLovely.com recommends Trader Joes coconut cream. If you’re like me, Trader Joes is a hundred miles away, but my local grocery does carry canned Imperial Dragon Whole Fat Coconut Milk. Refrigerate that overnight, open, scoop out the coconut cream which will be hardened at the top of the can. Save the coconut water to drink or to use in a sauce. You won’t have the full 14 ounces but you can either ignore it, which I do, or use 2 cans, storing any extra coconut cream in the coconut water until you’re ready to do an Indian chicken curry or other savory dish.)

1 T honey. Optional. (I’ve never added the honey to the cream as I like the tartness of the lemon curd and the whipped cream without it.)


Directions:

Use a big bowl!

In a large bowl, scoop the cream. Don’t use the little bowl like I have in the picture unless you’ve planned to wash down your kitchen walls and cabinets. Which is what I had to do by using too small a bowl. Fair warning!

Using your hand mixer with the whisk attachment, whisk the cream and honey. It will be hard, so keep at it until you have a fluffy mix.

Whisk the lemon curd, to loosen it up and make it fluffy, then add the coconut whipped cream. Whisk until fully combined. You can cover and store the mixture or put it into ramekins as I did. To serve, top with more coconut cream or if you don’t mind going off diet, regular whipped cream.

Enjoy.

Thanks for stopping by Chicklets in the Kitchen. Do you have a favorite dessert to serve family or guests? Please tell us about it in the comments box below if you feel so inclined.

My name is Connie Cockrell and I write SciFi, Fantasy, Mysteries, and a lot of other things and you can find links to all of my books at www.ConniesRandomThoughts.com.

Baked Cauliflower


Serving of Baked Cauliflower


One thing I do miss while on my new eating plan is pasta. I have always loved pasta and for many years dedicated Saturday night to pasta dinners. But eating paleo has changed all that. I still want that comfort food for dinner though. So what to do? Recreate it, of course. Now no one is ever going to think that cauliflower is pasta but nevertheless, I made this baked cauliflower and it was so good, the hubby went for seconds!

To make this work, since I also am off of dairy, I had to make a cauliflower ricotta. So, this month you get two recipes, three, if you count the sauce, for the price of one! You can find my spaghetti sauce recipe here.

Cauliflower Ricotta, Makes 1 1/2 cups. From FrugalFreebiesandDeals.com

Hardware

Pot

Strainer

Clean Dish Towel

Measuring spoons

Food Processor


Ingredients

16 oz frozen cauliflower

1/2 tsp garlic powder

1/2 tsp salt

1/2 tsp pepper

1 tsp apple cider vinegar

1 T nutritional yeast (Optional)

1 egg (optional if you’re not using this in a baked dish)

Directions:

Cooling Cauliflower

Cook cauliflower according to package directions.

Allow to cool for 5 – 6 minutes

Pour into a colander and drain all water.

Squeeze the water out

Spend 1 – 2 minutes squeezing water out of the cauliflower.

Add all ingredients to the food processor and blend until smooth.

Finished cauliflower ricotta

Baked Cauliflower from http://www.delish.com/cooking/recipe-ideas/recipes/a57630/cauliflower-Baked-ziti-recipe/

Hardware

Pot

Strainer

9 X 13 baking dish

Large Bowl

Cutting Board

Knife


Ingredients

1 T olive oil

1 medium onion, chopped

2 cloves garlic, minced

Pinch red pepper flakes

1 lb ground beef

Salt and pepper to taste

2 T tomato paste

1 tsp dried oregano

1 28oz can crushed tomatoes

2 T thinly sliced basil plus more for garnish

1 large head of cauliflower (about 3 cups) cut into florets, blanched and drained well

1 1/2 c ricotta

2 c shredded mozzarella

1/2 c freshly grated Parmesan

Note 1: I’m giving you the directions as listed in the recipe. I used the cauliflower ricotta above and vegan mozzarella. I cheated and used the real deal parmesan. There is no paleo substitute for parmesan. So if you want to keep this totally Paleo, just skip the parm.

Note 2: The above ingredients are for making the sauce. You can use this one or mine, see the link above.


Directions:

Preheat oven to 375F.

Heat olive oil in a large saucepan over medium heat. Add onion and saute, stirring often, until onion is soft, about 5 minutes. Stir in garlic and red pepper flakes and cook for one minute. Add meat and season with salt and pepper. Saute until browned. Drain fat.

Add the tomato paste and oregano and cook over medium heat for 2 minutes more, until slightly darkened. Add the crushed tomatoes and bring sauce to a simmer. Reduce heat and cook, stirring occasionally, until slightly reduced and flavors have melded, 10 to 15 minutes. Remove from heat and stir in basil.

In a large bowl, pour the sauce over the cauliflower and stir to combine. In a large, oiled baking dish, place half the cauliflower in an even layer.

Dollop all over with half of the ricotta, and sprinkle with half of the mozzarella and parmesan. Add the rest of the cauliflower in an even layer and top with the remaining cheeses.

Bake until the cheese is melty and golden, 25 minutes. Garnish with basil and serve.

Note 3: I only used half of the sauce on the cauliflower.

Enjoy.

Thanks for stopping by Chicklets in the Kitchen. Do you have a favorite baked dish to serve family or guests? Please tell us about it in the comments box below if you feel so inclined.

My name is Connie Cockrell and I write SciFi, Fantasy, Mysteries, and a lot of other things and you can find links to all of my books at www.ConniesRandomThoughts.com.

Avocado Chocolate Mousse

So last month I posted about my new Paleo diet lifestyle and mentioned avocado chocolate mousse. This is a wonderful dessert that you can enjoy yourself or make for a nice dinner with friends and/or family. It’s so delicious I cannot even say. It’s rich, decadent and chocolaty, everything you want in your chocolate dessert. And no, you don’t taste the avocado at all. Even better, it’s no cook!

Serves 4.

Hardware

Blender

Knife

1 cup glass measuring cup

Measuring spoons

Rubber spatula

4 half-cup ramekins


Ingredients

2 large or 3 small ripe avocados

3 T cocoa

4 oz dark chocolate

1/4 cup almond milk

1 tsp vanilla (Pictured is a bottle of homemade vanilla my friend Dee gave me for Christmas. It’s almost gone. ☹)

Directions:

Melt the chocolate in the microwave (pictured) or in a hot water bath. If using the microwave, use just short heating times, 15 seconds, until the mixture melts by stirring.

Test by stirring at the 1st 30 seconds, then every 15 seconds after that. Let it cool while you complete the other steps.

Half the avocados, remove the pits, scoop the avocado into the blender.

Add the milk and blend. If the avocado doesn’t get creamy, add more splashes of almond milk and blend until it does. Trust me on this. If you add everything all at once, you end up with green pieces of avocado in your chocolate mousse. Tastes good but looks a little off.

Add the cocoa, the vanilla and the melted chocolate. Blend until totally mixed. I have to scrape down the sides a couple of times to get it thoroughly blended.

Scoop into the 4 ramekins evenly. Refrigerate for a more solid mousse or serve right away.


Note: Even though paleo doesn’t do dairy, I can’t resist a dollop of real whipped cream on top.

Enjoy.


Thanks for stopping by Chicklets in the Kitchen. Do you have a favorite dessert to serve guests? Please tell us about it in the comments box below if you feel so inclined.

My name is Connie Cockrell and I write SciFi, Fantasy, Mysteries, and a lot of other things and you can find links to all of my books at www.ConniesRandomThoughts.com.

Poached Pears

PoachedPears005

Poached Pears with Frozen Custard and Orange Slice Garnish  Picture by Connie Cockrell

Lots has happened to me since my last post in June. July held the Payson Book Festival for which I am the director, then August is prep for the Northern Gila County Fair which is the weekend after Labor Day. Then, well, I was just tired.

But, news! In August I began eating the Paleo Diet. I love it! I lost 15 pounds in August alone. If you don’t know what the Paleo Diet is, a quick explanation is that you stop eating grains and dairy. You can Google it for a more complete explanation. I have Celiac Disease which is closely related to Hashimoto’s disease. With that, you should also stop eating sugar (well, we all should anyway), caffeine (which I gave up years ago), and raw cruciferous veg (cooked is ok). So that’s what I’ve done.

I don’t feel deprived at all, despite my strong love of anything pasta. But it was making me feel bad so, while I may make the very seldom choice to go gluten-free pasta, it’s gone! Now I eat as clean as possible (meaning organic, grass-fed meat, organic veg, organic fruit. It helps that I have my own pear, apple, and peach trees, and grow a lot of veg in my small garden.

The pears are where this blog comes in. My Bartlett pears became ripe the end of September. They’re not a soft pear. I was having my brother-in-law and his girl for supper and was thinking about dessert. At first, I thought about an avocado-chocolate mousse, (more on that next month), but then I was looking at all of my lovely ripe pears and decided poached pears would be a better choice.

Don’t get me wrong, I’m not really missing anything on my new diet, but a girl does like the occasional sweet, am I right?

Serves 4 – 6.

PoachedPears001

Hardware and Ingredients  Photo by Connie Cockrell

Hardware

Cutting board

Knife

Saucepan


PoachedPears002

Juicing the Oranges  Photo by Connie Cockrell

Ingredients

4 pears, peeled, cored, cut into quarters or sixths

3 navel oranges, 2 juiced (1/2 cup or more if extra juicy), 1 sliced into rounds

5 – 6 whole cloves

1 tsp vanilla (Pictured is a bottle of homemade vanilla my friend Dee gave me for Christmas. It’s almost gone. ☹)

PoachedPears003

Cutting up the pears  Photo by Connie Cockrell

Directions:

Put the pears, vanilla, orange juice, orange slices, and cloves in the saucepan. The recipe I was using didn’t call for any other liquid and I saw that the pears were not fully submerged. Thinking that if they were going to poach they needed more liquid, I added water to just cover the pears.

PoachedPears004

Everything in the pot, heating up  Photo by Connie Cockrell

Bring to a boil, then lower to a simmer for 20 minutes.

Check to see if the pears are completely tender. If not add another 5 to 10 minutes or more until they are.

I made my pears early in the day and after the mixture cooled, refrigerated it until time for dessert. However, you can plate this warm as well.

I served it with Culver’s vanilla custard (broke my diet a little there) and the pears.

For the picture, I did decorate with an orange slice but when I served it to my guests, I left the orange off. I thought it looked a little mushy and not nice to eat. The orange gives the pears a nice floral note and the cloves a little warm spicy flavor. Yum.

Enjoy.

Notes: Culver’s vanilla custard, as of this writing, is gluten-free. I figured the 1/4 cup I ate wouldn’t break the Paleo diet too much.


Thanks for stopping by Chicklets in the Kitchen. Do you have a favorite dessert to serve guests? Please tell us about it in the comments box below if you feel so inclined.

My name is Connie Cockrell and I write SciFi, Fantasy, Mysteries, and a lot of other things and you can find links to all of my books at www.ConniesRandomThoughts.com.

Tomato Soup: Chicklets in the Kitchen

OLYMPUS DIGITAL CAMERA

OLYMPUS DIGITAL CAMERA

It’s the end of summer and I have a glut of tomatoes, especially cherry tomatoes. Fortunately, the variety I chose for this year has that cherry tomato sweetness but isn’t too sweet. What to do with a giant bowl full of cherry tomatoes? Why tomato soup, of course! A few random Amish Paste and Early Girls found their way into the soup as well but it’s all good. The batch ended up making 3 pints of soup. Half a pint made it into my lunch but the rest I froze for future meals. Happy cooking and eating.

Hardware

4 Quart Pot

Cutting Board

Knife

1 or ½ pint freezer containers

Immersion Blender


Ingredients

Bowl full of cherry tomatoes, washed

¼ cup sliced onion

2 med garlic cloves, sliced

Salt and pepper to taste


Slice the onion and garlic. Cut the tomatoes in half.

Add ½ cup of water to the pot.

OLYMPUS DIGITAL CAMERA

OLYMPUS DIGITAL CAMERA

Drop in the onion, garlic, and tomatoes, and salt and pepper.

OLYMPUS DIGITAL CAMERA

OLYMPUS DIGITAL CAMERA

Bring to a boil. Reduce heat to medium-low and simmer for about an hour.

OLYMPUS DIGITAL CAMERA

OLYMPUS DIGITAL CAMERA

Right in the pot, use the immersion blender to blend the mixture until smooth. Serve up bowls full for lunch or supper. Freeze the rest.

OLYMPUS DIGITAL CAMERA

OLYMPUS DIGITAL CAMERA

NOTE: I did not strain the blended soup to remove the seeds. I kind of like the seedy chew but if you don’t, go ahead and strain the seeds out.

OLYMPUS DIGITAL CAMERA

OLYMPUS DIGITAL CAMERA

Thanks for stopping by Chicklets in the Kitchen. What do you do with your tomato abundance? Please tell us about it in the comments box below if you feel so inclined.

My name is Connie Cockrell and I write SciFi, Fantasy, Mysteries, and a lot of other things and you can find links to all of my books at www.ConniesRandomThoughts.com.

Peach Shortcake

PeachShortcake005

Mid-Summer in my neck of the woods means peaches. My peach tree tends to ripen late July, depending on the weather. It held off to the 1st week in August when all the peaches ripened just about at once. Nothing like an avalanche of peaches to make you put on your thinking cap. After giving away a LOT! I decided peach shortcake would be just the thing. Now it’s not complicated, but after all those peaches, I didn’t have too much brain power left. And it’s hot! So why not peach shortcake for supper. Or breakfast!

Hardware

Medium Bowl

Cutting Board

Knife

Individual serving bowls


Ingredients

Bowl full of peaches, washed

½ to 1 cup sugar (your choice)

Can of Whipped Cream

Shortcake

PeachShortcake001

Cut the peaches in half, remove the pit, chop up and put in the bowl. Continue until all of the peaches are chopped up. I didn’t peel them, just chopped them into bite-sized chunks.

PeachShortcake002

Pour sugar over the fruit. I know. Peaches are already sweet, especially ones ripened on the tree. But the sugar makes a syrup that you really need to have to pour over the short cake. Let stand in the refrigerator all day or all night to develop the syrup.

PeachShortcake003

In an individual bowl. Place your short cake/pound cake/muffin (I used a gluten free muffin, hubby used a generous slice of Sara Lee Pound Cake).

PeachShortcake004

Scoop generous portions of fruit over the cake.

PeachShortcake005

Spray your whipped cream over all. I’m pretty generous as you can see from the photo. If I hadn’t been lazy that day I’d have made home-made whipped cream. It’s just better, but, you know. Summer, lazy, heat. It was delicious.

Left over fruit can be used in yogurt, cereal, crepes, the sky is the limit.

Thanks for stopping by Chicklets in the Kitchen. What do you do with your peachy abundance? Please tell us about it in the comments box below if you feel so inclined.

My name is Connie Cockrell and I write SciFi, Fantasy, Mysteries, and a lot of other things and you can find links to all of my books at www.ConniesRandomThoughts.com.